목차
- Spring Cloud Config: 소개와 예제
- Spring Cloud Config: Spring Cloud Bus 예제
- Spring Cloud Config: Git Webhook을 이용한 자동 갱신
- Spring Cloud Config: Spring Boot 2.4 버전에서의 변경사항
refresh 호출을 잊어버리면 어떻게 될까?
앞선 글에서는 Spring Cloud Bus를 이용하여 설정값 갱신할 때 모든 클라이언트를 호출해야만 하는 불편함을 없앴다. 그런데 만약에 설정 파일을 수정한 후에 설정값 갱신을 위한 엔드 포인트 호출을 잊어버리면 어떻게 될까?
당연히 참조하고 있는 설정값이 최신 데이터로 갱신되지 않는다. 이러한 불편함은 Git의 Webhook을 이용하면 간단히 해결할 수 있다.
설정 파일이 변경될 때마다 갱신 이벤트 트리거를 발생시키는 것이다. 즉, 수동으로 엔드 포인트를 호출하지 않아도 된다.
2021년 1월 내용 추가: 스프링 부트 2.4 버전부터는 이 글의 예제에서 사용된
bootstrap.yml파일을 더 이상 사용하지 않습니다. 또한 글의 예제에서 사용한 “설정값 갱신을 위한 actuator 엔드포인트”bus-refresh도busrefresh로 변경되었습니다. 변경 사항에 대해서는 상단 목차의 네 번째 글 “Spring Boot 2.4 버전에서의 변경사항”을 참고하시기 바랍니다.
어떤 구조일까?
개발을 시작하기 전에 구조를 먼저 살펴보자. 설정 파일의 변경이 Git 저장소로 push 될 때마다 webhook 이벤트가 등록된 애플리케이션으로 전송된다.
여기서는 Spring Cloud Config 서버의 /monitor 엔드 포인트를 사용할 것이다. 이벤트를 받은 Config 서버는 Git 저장소에서 최신 설정을 검색하고
Spring Cloud Bus에 갱신 이벤트를 전달한다.
한편 모든 클라이언트는 Spring Cloud Bus에 연결되며 Config 서버가 전달한 갱신 이벤트를 수신한다. 클라이언트는 actuator를 가지고 있기 때문에
아무 문제없이 새로 고침 이벤트를 수신하고 처리할 수 있다.

그런 다음에는 @RefreshScope 어노테이션 영역에 속한 모든 빈들이 갱신되고 최신 값으로 새롭게 변경된다. 즉, config 클라이언트는 config 서버와
통신하여 최신 설정값을 탐색한다. 한편 config 서버는 Git 저장소에서 최신 설정값을 가져와 서버 자체를 트한다. 따라서 클라이언트가 설정값을 요청하면
최신으로 업데이트된 설정값이 제공된다.
그럼 이제 직접 코드를 수정하여 적용해보자.
예제에서 사용한 코드는 모두 github에 있습니다. 글 하단 링크를 참고해주세요.
메시지 브로커 설정
이번에도 동일하게 메시지 브로커를 사용한다. 앞선 글에서 도커(Docker)를 이용하여 구동한 RabbitMQ를 그대로 이용하면 된다.
포트 설정도 똑같다. 연동에는 5672번 포트, 관리 페이지는 8087번 포트를 사용한다.
$ docker run -d --name rabbitmq \
    -p 5672:5672 -p 8087:15672 \
    -e RABBITMQ_DEFAULT_USER=madplay \
    -e RABBITMQ_DEFAULT_PASS=madplay \
    rabbitmq:management
컨테이너가 정상적으로 실행되었다면 브라우저에서 http://localhost:8087로 접속하여 어드민 화면을 확인해보자.
Spring Cloud Config Server 수정
이번에는 Config 클라이언트에 대한 수정 작업은 없다. Config 서버의 설정만 수정하면 된다.
먼저 pom.xml에 아래 의존성을 추가하자.
<dependency>
    <groupId>org.springframework.cloud</groupId>
    <artifactId>spring-cloud-starter-stream-rabbit</artifactId>
</dependency>

<dependency>
    <groupId>org.springframework.cloud</groupId>
    <artifactId>spring-cloud-config-monitor</artifactId>
</dependency>
spring-cloud-config-monitor 의존성
위에서 pom.xml에 추가한 spring-cloud-config-monitor 의존성은 Git 저장소에서 push 등으로 변경사항이 발생될 때마다 config 서버가
이벤트를 받을 수 있도록 /monitor라는 엔드 포인트를 제공한다. 다만 spring.cloud.bus 설정이 활성화된 경우에만 변경 이벤트를 처리한다.
값을 지정하지 않은 경우 기본값이 false로 설정되기 때문에 true로 지정하여 Git의 push 이벤트를 처리할 수 있도록 해야 한다.
따라서 config 서버의 application.yml 파일에 아래 내용을 추가해주자.
spring:
  # ... 생략
  bus: # 이부분을 추가해준다.
    enabled: true
Spring Cloud Stream
Spring Cloud Stream은 메시지 주도(message-driven) 또는 이벤트 주도(event-driven)의 마이크로 서비스 개발을 지원하는 프레임워크다. RabbitMQ와 Kafka 같은 기본 메시지 브로커를 사용하여 애플리케이션(클라이언트)에 이벤트를 전달하는 역할을 한다.
여기서 Spring Cloud Bus와의 미묘한 차이를 알 수 있는데 Spring Cloud Bus는 메시지 브로커를 통하여 애플리케이션을 연결한다. 따라서 전달된 이벤트를 브로드 캐스팅하여 관련 서비스에 전달한다. Spring Cloud Bus는 이번에 사용하는 Spring Cloud Stream을 기반으로 한다.
한편 pom.xml에 새롭게 추가한 spring-cloud-starter-stream-rabbit 의존성은 RabbitMQ를 기본 메시지 브로커를 사용하는
Spring Cloud Stream의 구현체를 사용하기 위한 선언이다.
결과적으로 config 서버에서 메시지 브로커를 사용하기 위해 application.yml 파일에 아래 내용을 추가하면 된다.
spring:
  # ... 생략
  rabbitmq: # 이 부분을 추가해준다.
    host: localhost
    port: 5672
    username: madplay
    password: madplay
최종적으로 application.yml 파일은 아래와 같은 모습이다.
server:
  port: 8088
spring:
  cloud:
    config:
      server:
        git:
          uri: https://github.com/madplay/spring-cloud-config-repository
  bus:
    enabled: true
  rabbitmq:
    host: localhost
    port: 5672
    username: madplay
    password: madplay
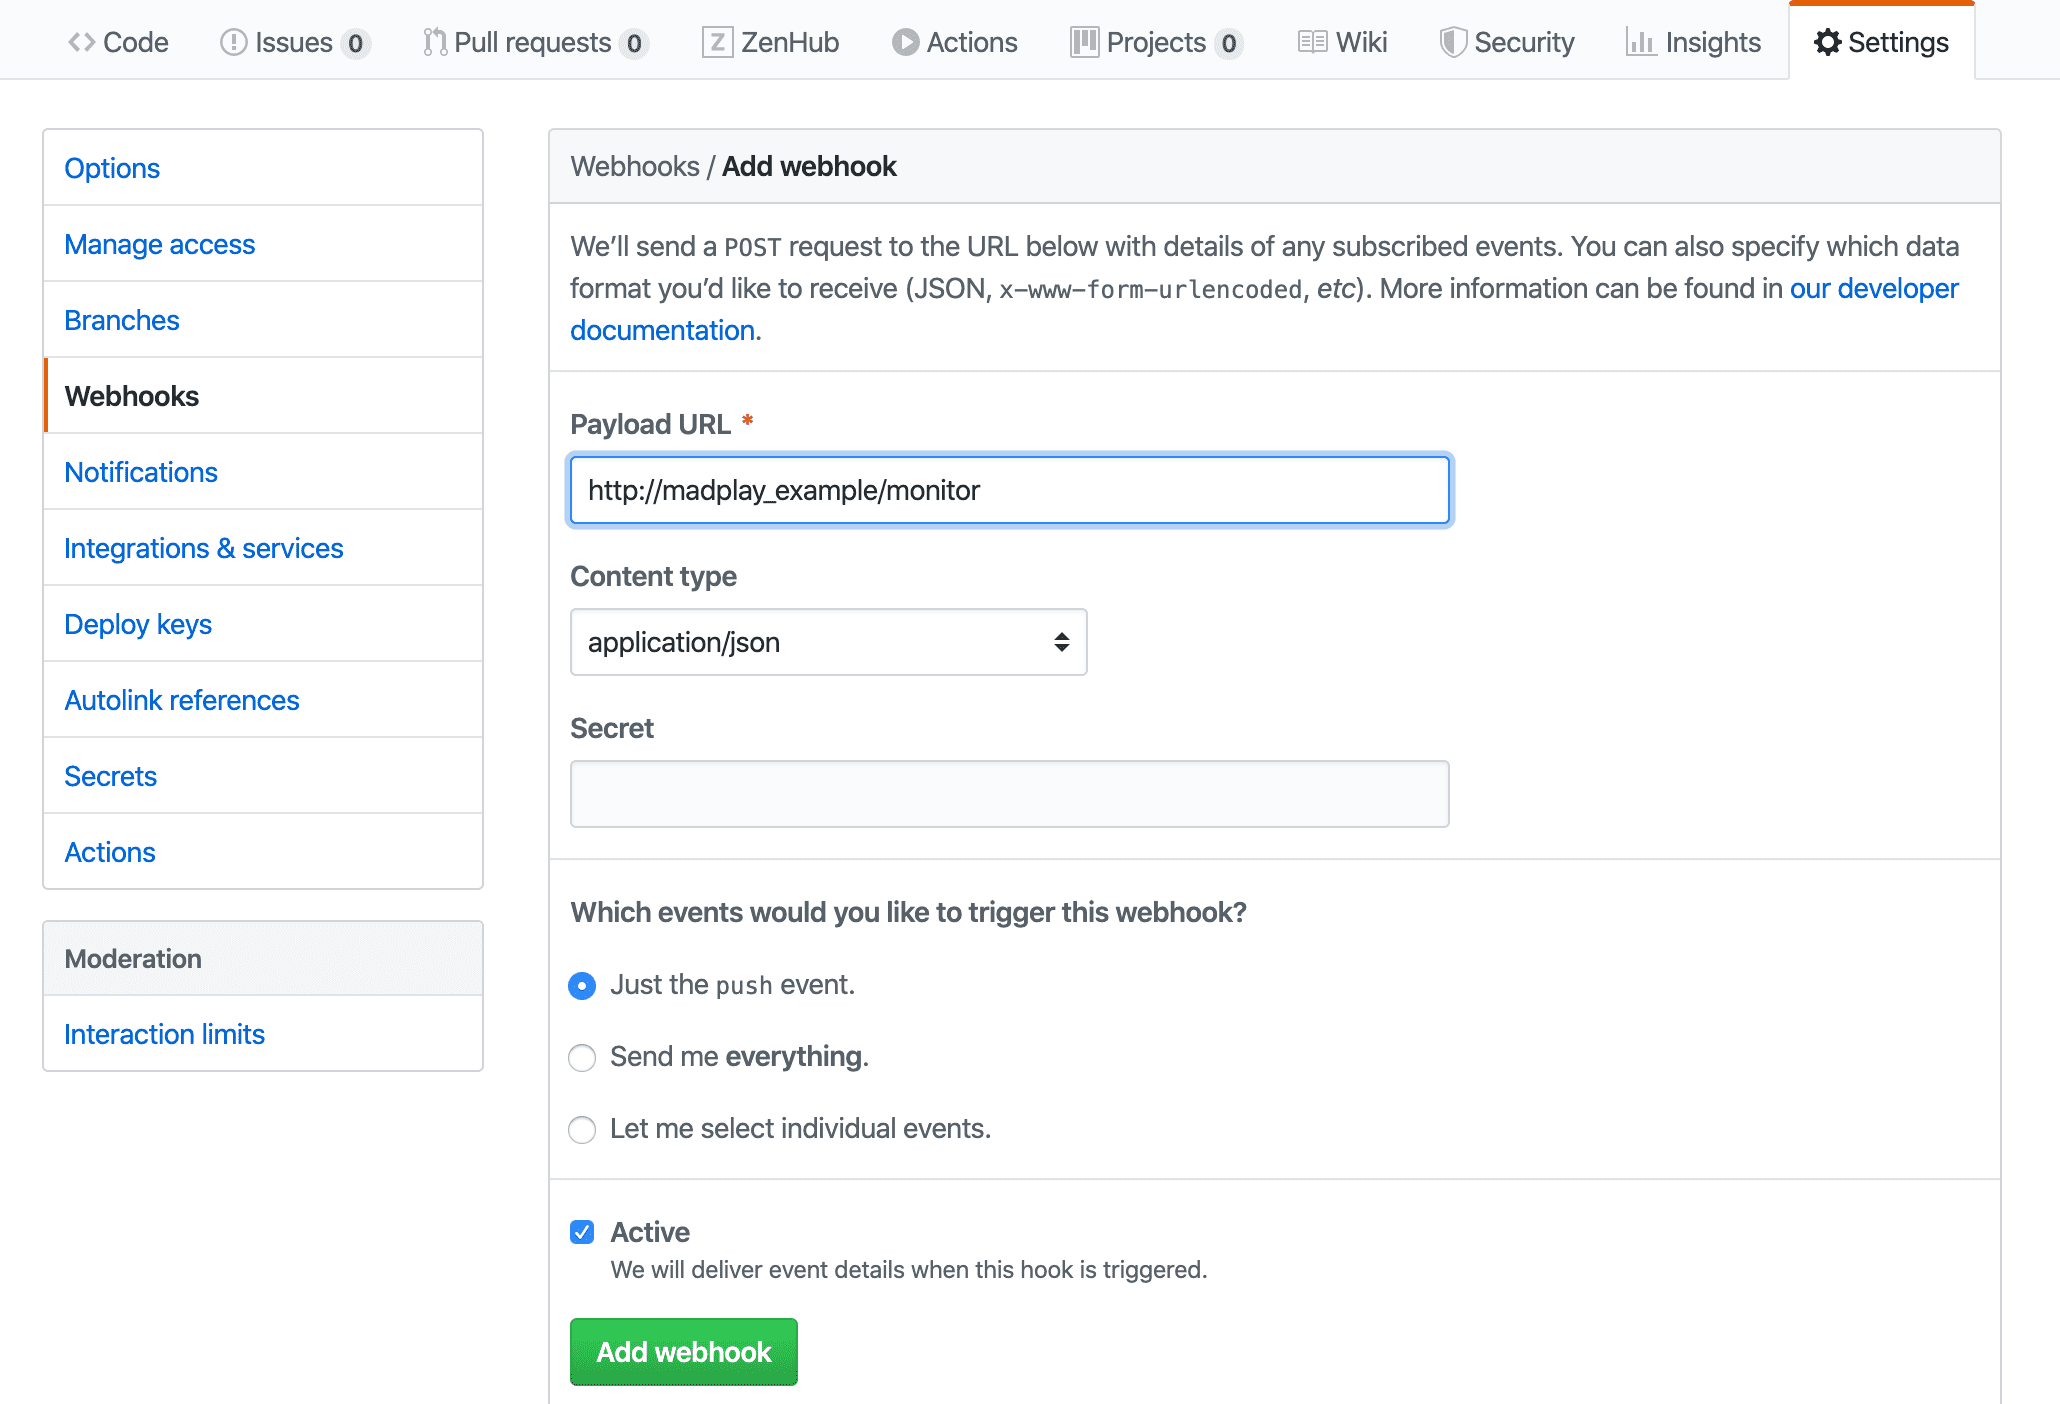
Github 저장소에 Webhook 이벤트 추가
Git 저장소에 /monitor 엔드 포인트 URL을 Webhook URL로 추가할 수 있다. 다만 도메인이나 공인 IP가 있어야 하며 localhost에서는 동작하지 않는다.
이번 예제에서도 도메인이 없기 때문에 로컬 호스트에서 테스트를 진행한다. 만일 등록하는 경우 아래와 같이 Webhook 정보를 추가해주면 된다.
테스트 해보기
모든 애플리케이션을 구동시켜서 테스트해보자. 아래와 같이 포트를 사용하게 된다.
- 8086번 포트: Config 클라이언트 2
- 8087번 포트: RabbitMQ
- 8088번 포트: Config 서버
- 8089번 포트: Config 클라이언트 1
앞선 글의 테스트와 동일하게 클라이언트를 각각 호출해서 현재 설정값을 확인해보자.
$ curl -X GET "http://localhost:8089/dynamic"

# 결과
{
  "profile": "I'm dev taeng",
  "comment": "Hello! updated by Spring Bus."
}

$ curl -X GET "http://localhost:8086/dynamic"

# 결과
{
  "profile": "I'm dev taeng",
  "comment": "Hello! updated by Spring Bus."
}
두 개의 클라이언트의 현재 설정값을 확인했다면, Git 저장소의 config-dev.yml 파일을 수정하고 커밋(commit), 푸시(push) 해보자.
taeng:
  profile: I'm dev taeng
  comment: Hello! updated by Spring Bus with webhook!
도메인 또는 공인 IP로 Webhook을 등록했다면 자동으로 엔드 포인트가 호출된다. 하지만 이번 예제에서는 로컬 호스트를 사용하기 때문에 아래와 같이
직접 /monitor 엔드 포인트를 호출해보자.
$ curl -v -X POST "http://localhost:8088/monitor" \
-H "Content-Type: application/json" \
-H "X-Event-Key: repo:push" \
-H "X-Hook-UUID: webhook-uuid" \
-d '{"push": {"changes": []} }'

Note: Unnecessary use of -X or --request, POST is already inferred.
*   Trying ::1...
* TCP_NODELAY set
* Connected to localhost (::1) port 8088 (#0)
> POST /monitor HTTP/1.1
> Host: localhost:8088
> User-Agent: curl/7.64.1
> Accept: */*
> Content-Type: application/json
> X-Event-Key: repo:push
> X-Hook-UUID: webhook-uuid
> Content-Length: 26
>
* upload completely sent off: 26 out of 26 bytes
< HTTP/1.1 200
< Content-Type: application/json
< Transfer-Encoding: chunked
< Date: Tue, 11 Feb 2020 14:43:28 GMT
<
* Connection #0 to host localhost left intact
["*"]* Closing connection 0
이제 다시 각각의 클라이언트를 호출하여 설정값이 변경되었는지 확인해하면 된다.
$ curl -X GET "http://localhost:8089/dynamic"

# 결과
{
  "profile": "I'm dev taeng",
  "comment": "Hello! updated by Spring Bus with webhook!"
}

$ curl -X GET "http://localhost:8086/dynamic"

# 결과
{
  "profile": "I'm dev taeng",
  "comment": "Hello! updated by Spring Bus with webhook!"
}
앞선 글에서 /actuator/bus-refresh를 호출했을 때처럼 모든 클라이언트가 갱신된 것을 확인할 수 있다.
이 과정도 /monitor가 호출될 때, 서버와 클라이언트의 로그로 확인할 수 있다.
# Server 로그
Refresh for: *
No active profile set, falling back to default profiles: default
Started application in 0.148 seconds (JVM running for 568.284)
Fetched for remote master and found 1 updates
Adding property source: file:/var/folders/7b/4vlwnfvd5r54h9fdd89qtnqm0000gn/T/config-repo-8303556801916876626/config-dev.yml
Adding property source: file:/var/folders/7b/4vlwnfvd5r54h9fdd89qtnqm0000gn/T/config-repo-8303556801916876626/config-dev.yml
Received remote refresh request. Keys refreshed []

# Client1 로그
Fetching config from server at : http://localhost:8088
Located environment: name=config, profiles=[dev], label=null, version=36df45a532624d91f5e63f5f463b6d4becf97fc6, state=null
Located property source: [BootstrapPropertySource {name='bootstrapProperties-configClient'},
    BootstrapPropertySource {name='bootstrapProperties-https://github.com/madplay/spring-cloud-config-repository/config-dev.yml'}]
The following profiles are active: dev
Started application in 2.879 seconds (JVM running for 527.944)
Received remote refresh request. Keys refreshed [config.client.version, taeng.comment]

# Client2 로그
Fetching config from server at : http://localhost:8088
Located environment: name=config, profiles=[dev], label=null, version=36df45a532624d91f5e63f5f463b6d4becf97fc6, state=null
Located property source: [BootstrapPropertySource {name='bootstrapProperties-configClient'},
    BootstrapPropertySource {name='bootstrapProperties-https://github.com/madplay/spring-cloud-config-repository/config-dev.yml'}]
The following profiles are active: dev
Started application in 2.145 seconds (JVM running for 494.962)
Received remote refresh request. Keys refreshed [config.client.version, taeng.comment]
마치며
앞선 글에서는 Spring Cloud Bus를 이용하여 한 번의 엔드 포인트 호출로 연결된 모든 클라이언트를 갱신하도록 개선하였다.
그리고 더 나아가 이러한 수동 호출조차 Git 저장소의 Webhook을 이용하여 자동화하였다. 물론 엔드 포인트 호출까지 자동화하는 단계가
필요 없을 수 있다. 필요에 따라 적절하게 사용하면 될 것 같다.
2021년 1월 내용 추가: 스프링 부트 2.4 버전부터는 변경된 내용은 이어지는 글 “Spring Boot 2.4 버전에서의 변경사항”을 참고해주세요.
이번 글에서 사용한 모든 예제 코드는 아래 Git 저장소에 있습니다.
- config server & config client
- config repository