Spring Framework a Bit Faster! Spring Boot
Spring Framework appeared to lighten the Java enterprise environment known as J2EE.
It’s a framework that supports lightweight development even when developing based on POJO (Plain Old Java Object).
Although code writing became lighter, when configuring web projects based on Spring Framework, much time was needed for initial settings.
That is, spending more time on project configuration settings rather than writing application logic code.
Spring Boot is said to significantly shorten the time needed to configure web application projects based on existing Spring Framework. Actually, personally, since I haven’t properly (?) used Spring, it’s early to feel its advantages firsthand, but recently when doing personal toy projects, I think I see relative advantages different from before.
Spring Boot minimizes these complex Spring settings and lets you start project development quickly.
IntelliJ officially supports SpringBoot, and in this post, creating a project and
simply printing Hello World, the start of development.
Creating Project
Proceeded based on Mac OS.
First, run IntelliJ and sequentially click File > New > Project to open the project template. (Create New Project)
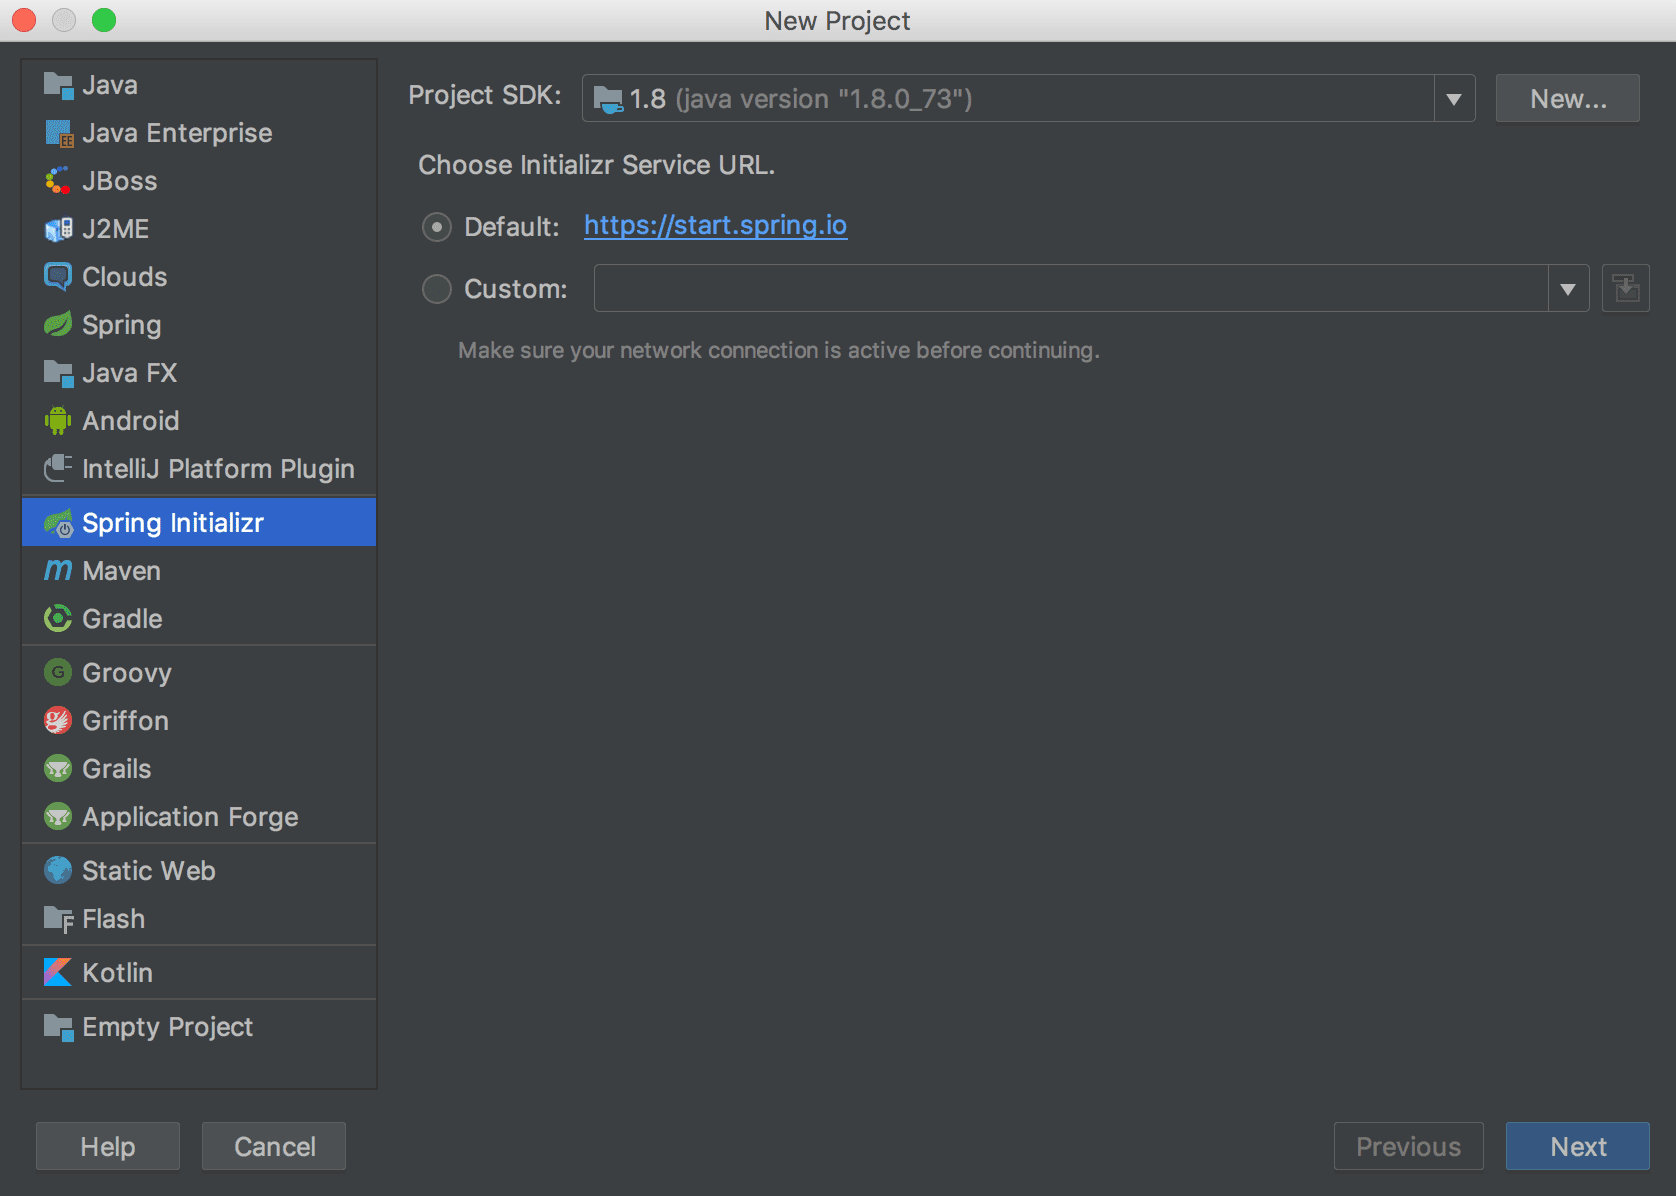
Select Spring Initializr from the left selection list and select the JDK version.
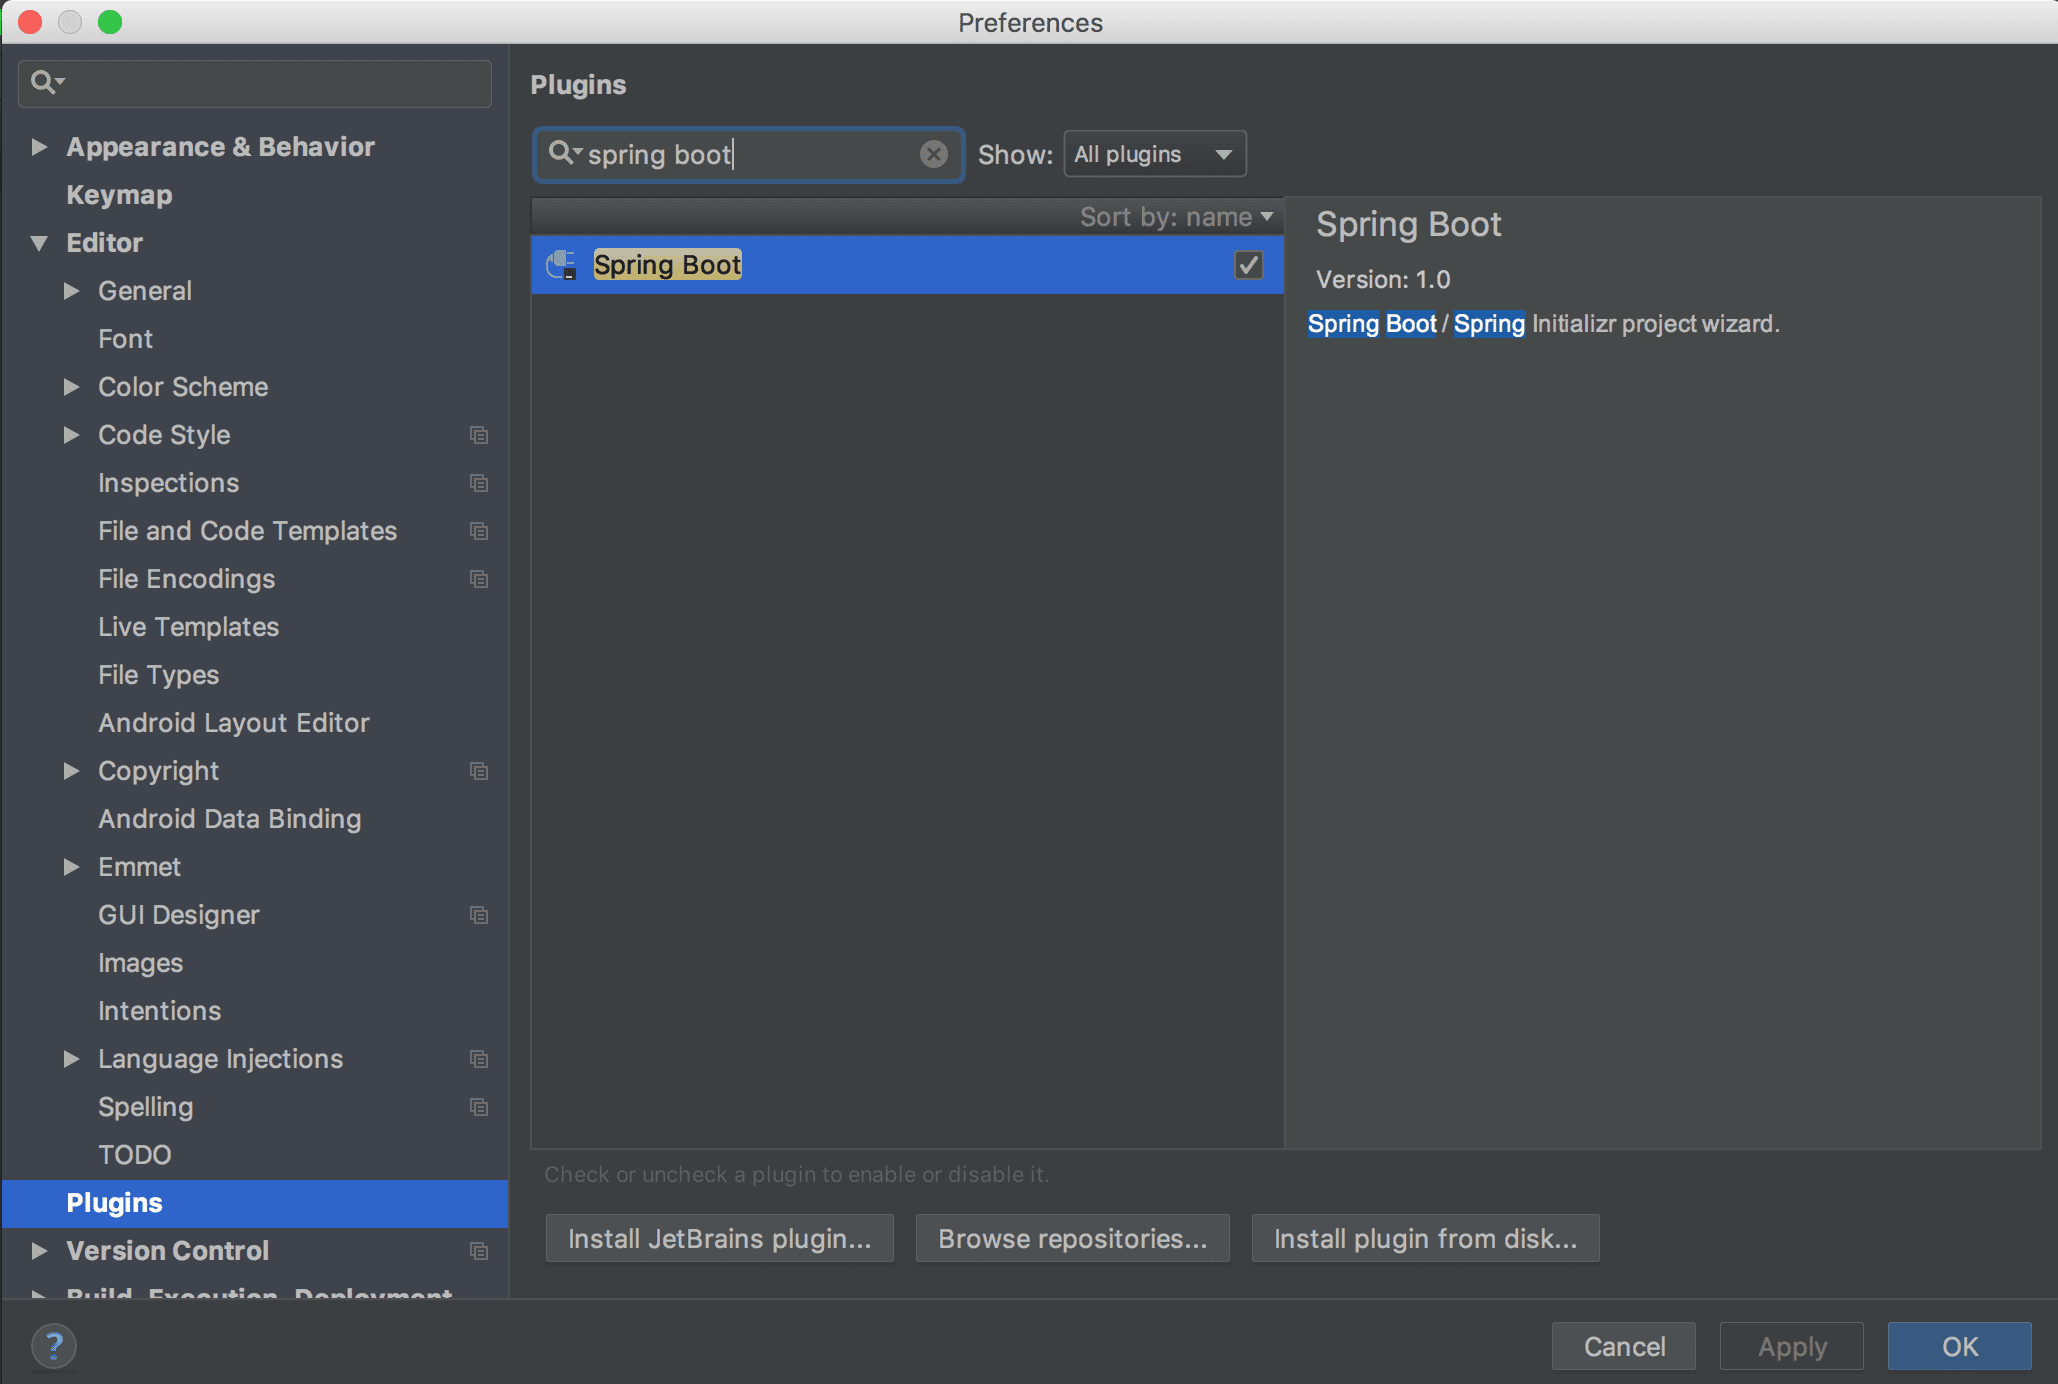
If such a case is unlikely, but if the selection list screen doesn’t appear as above, check if the SpringBoot Plugin below is installed.
After selecting Spring Initializr and pressing the Next button, you can see a screen like below.
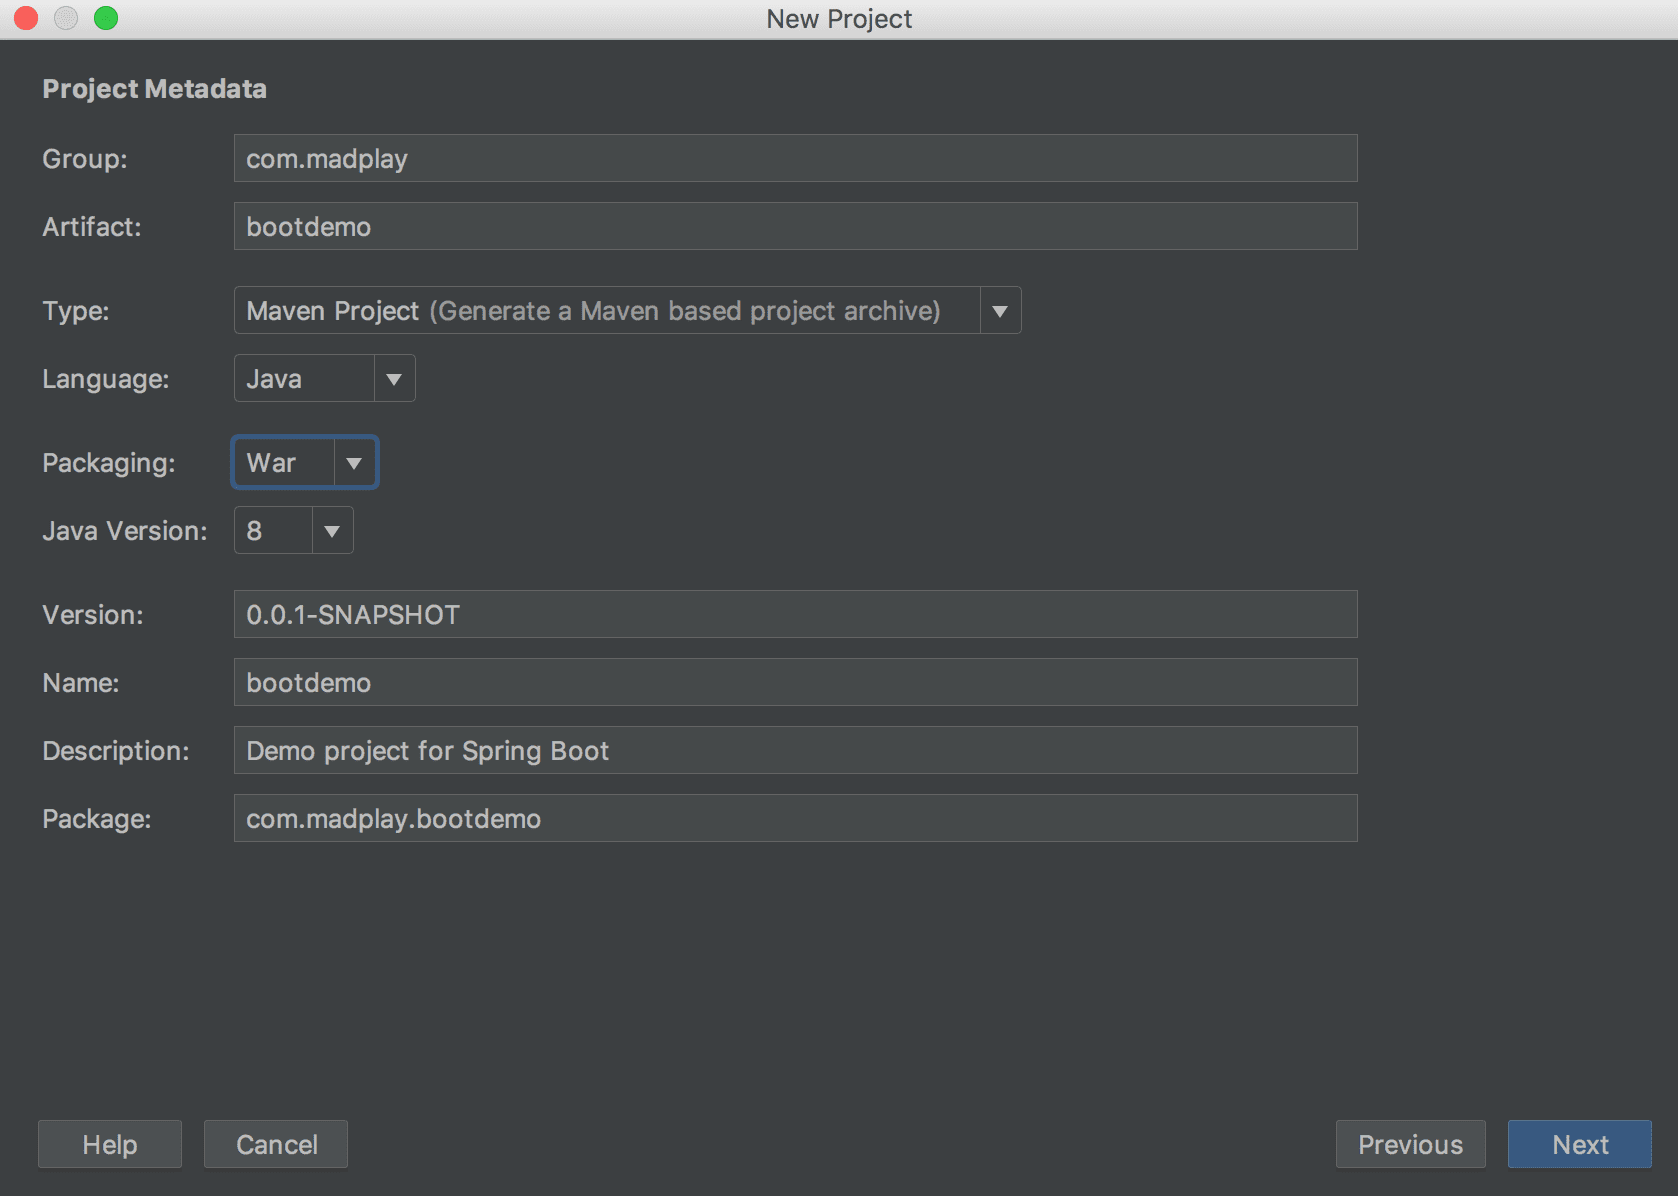
- Group : Refers to Artifact groups related to project repositories. Typically domain names
- Artifact : Project’s Artifact
- Type : Project type (Maven or Gradle)
- Language : Project language
- Package : Type to be packaged after project build (jar or war)
- jar : Uses Tomcat embedded in Spring Boot, no need for separate Tomcat settings.
- war : Form of deploying and running on external Tomcat
- Version : Project version
- Name : Project name
- Description : Project description
- Package : Project package name
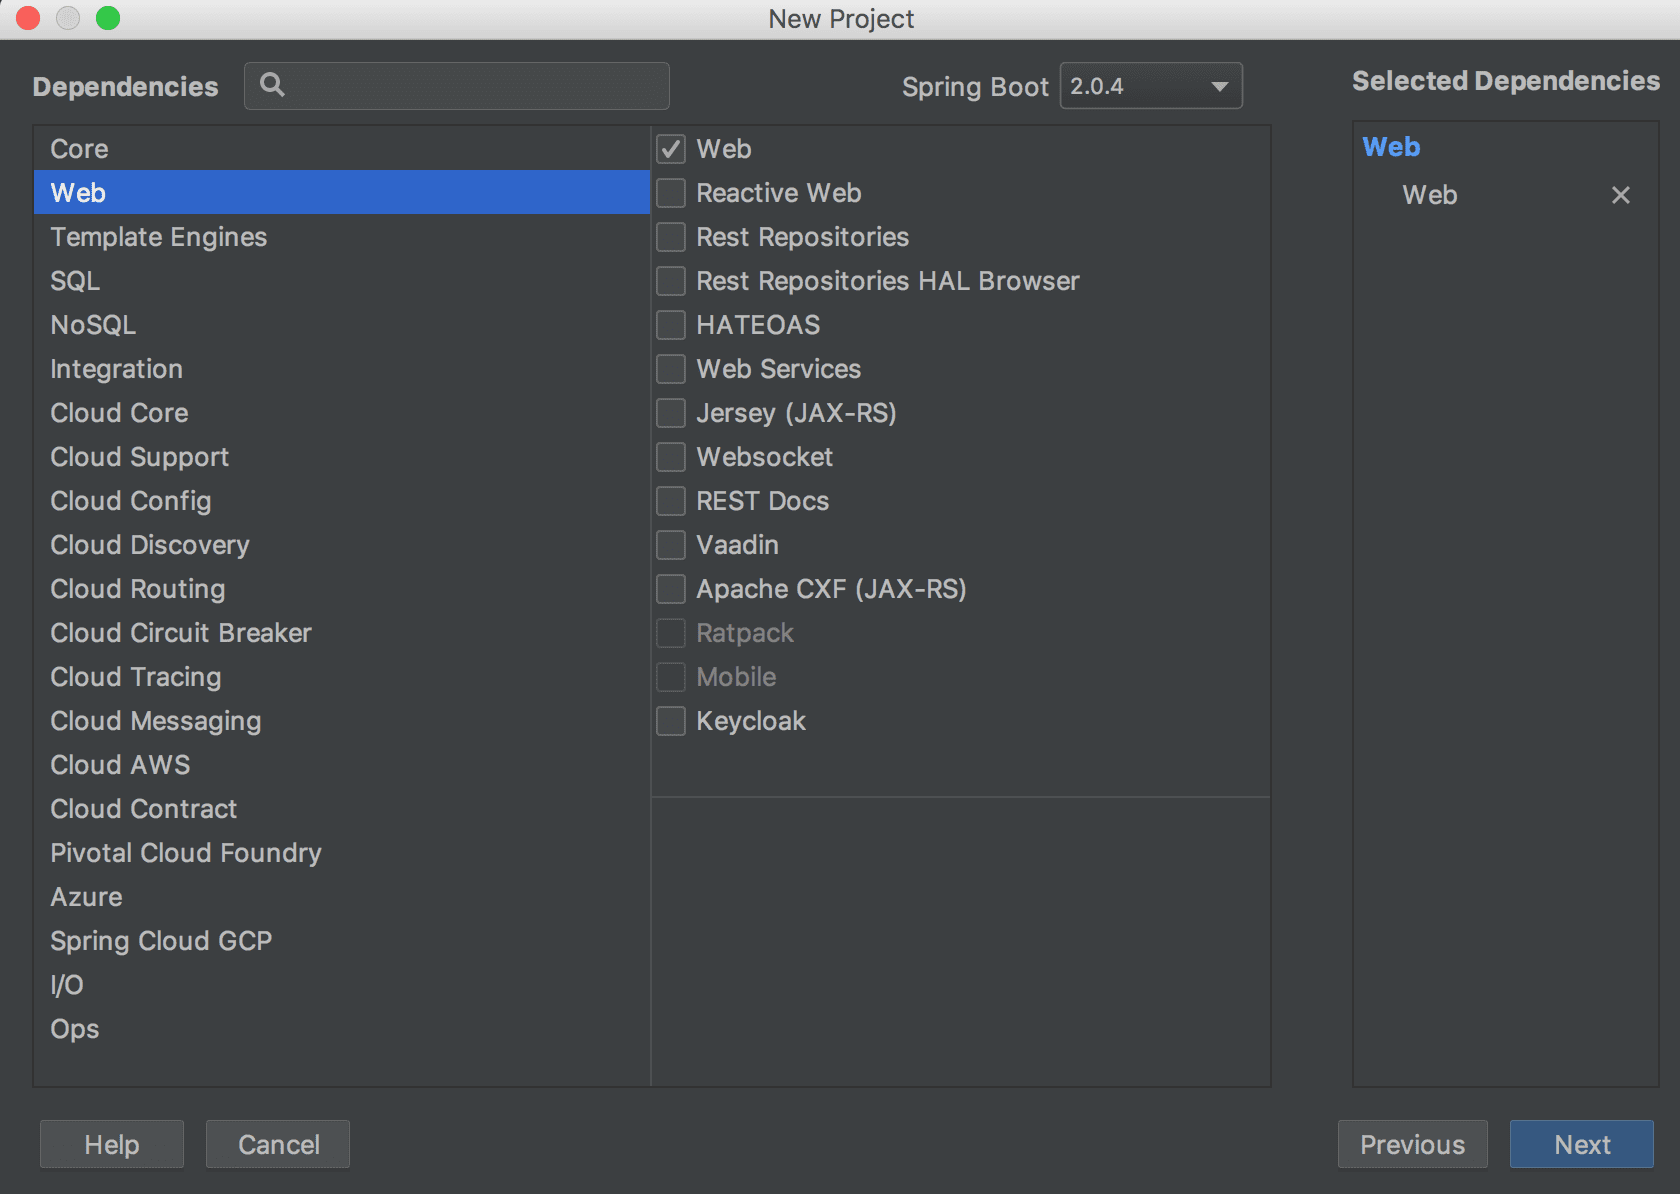
After entering in blank fields and pressing the Next button, a screen appears to set libraries to add when creating the SpringBoot project. First, just check Web.
 After pressing the Next button, a screen appears to check the project name and path. After checking, press the Finish button to complete project creation.
As soon as project creation is complete, the SpringBoot application you just created will automatically appear in IntelliJ's Run Configuration.
Running it first. Since Tomcat is embedded, it runs without separate settings.
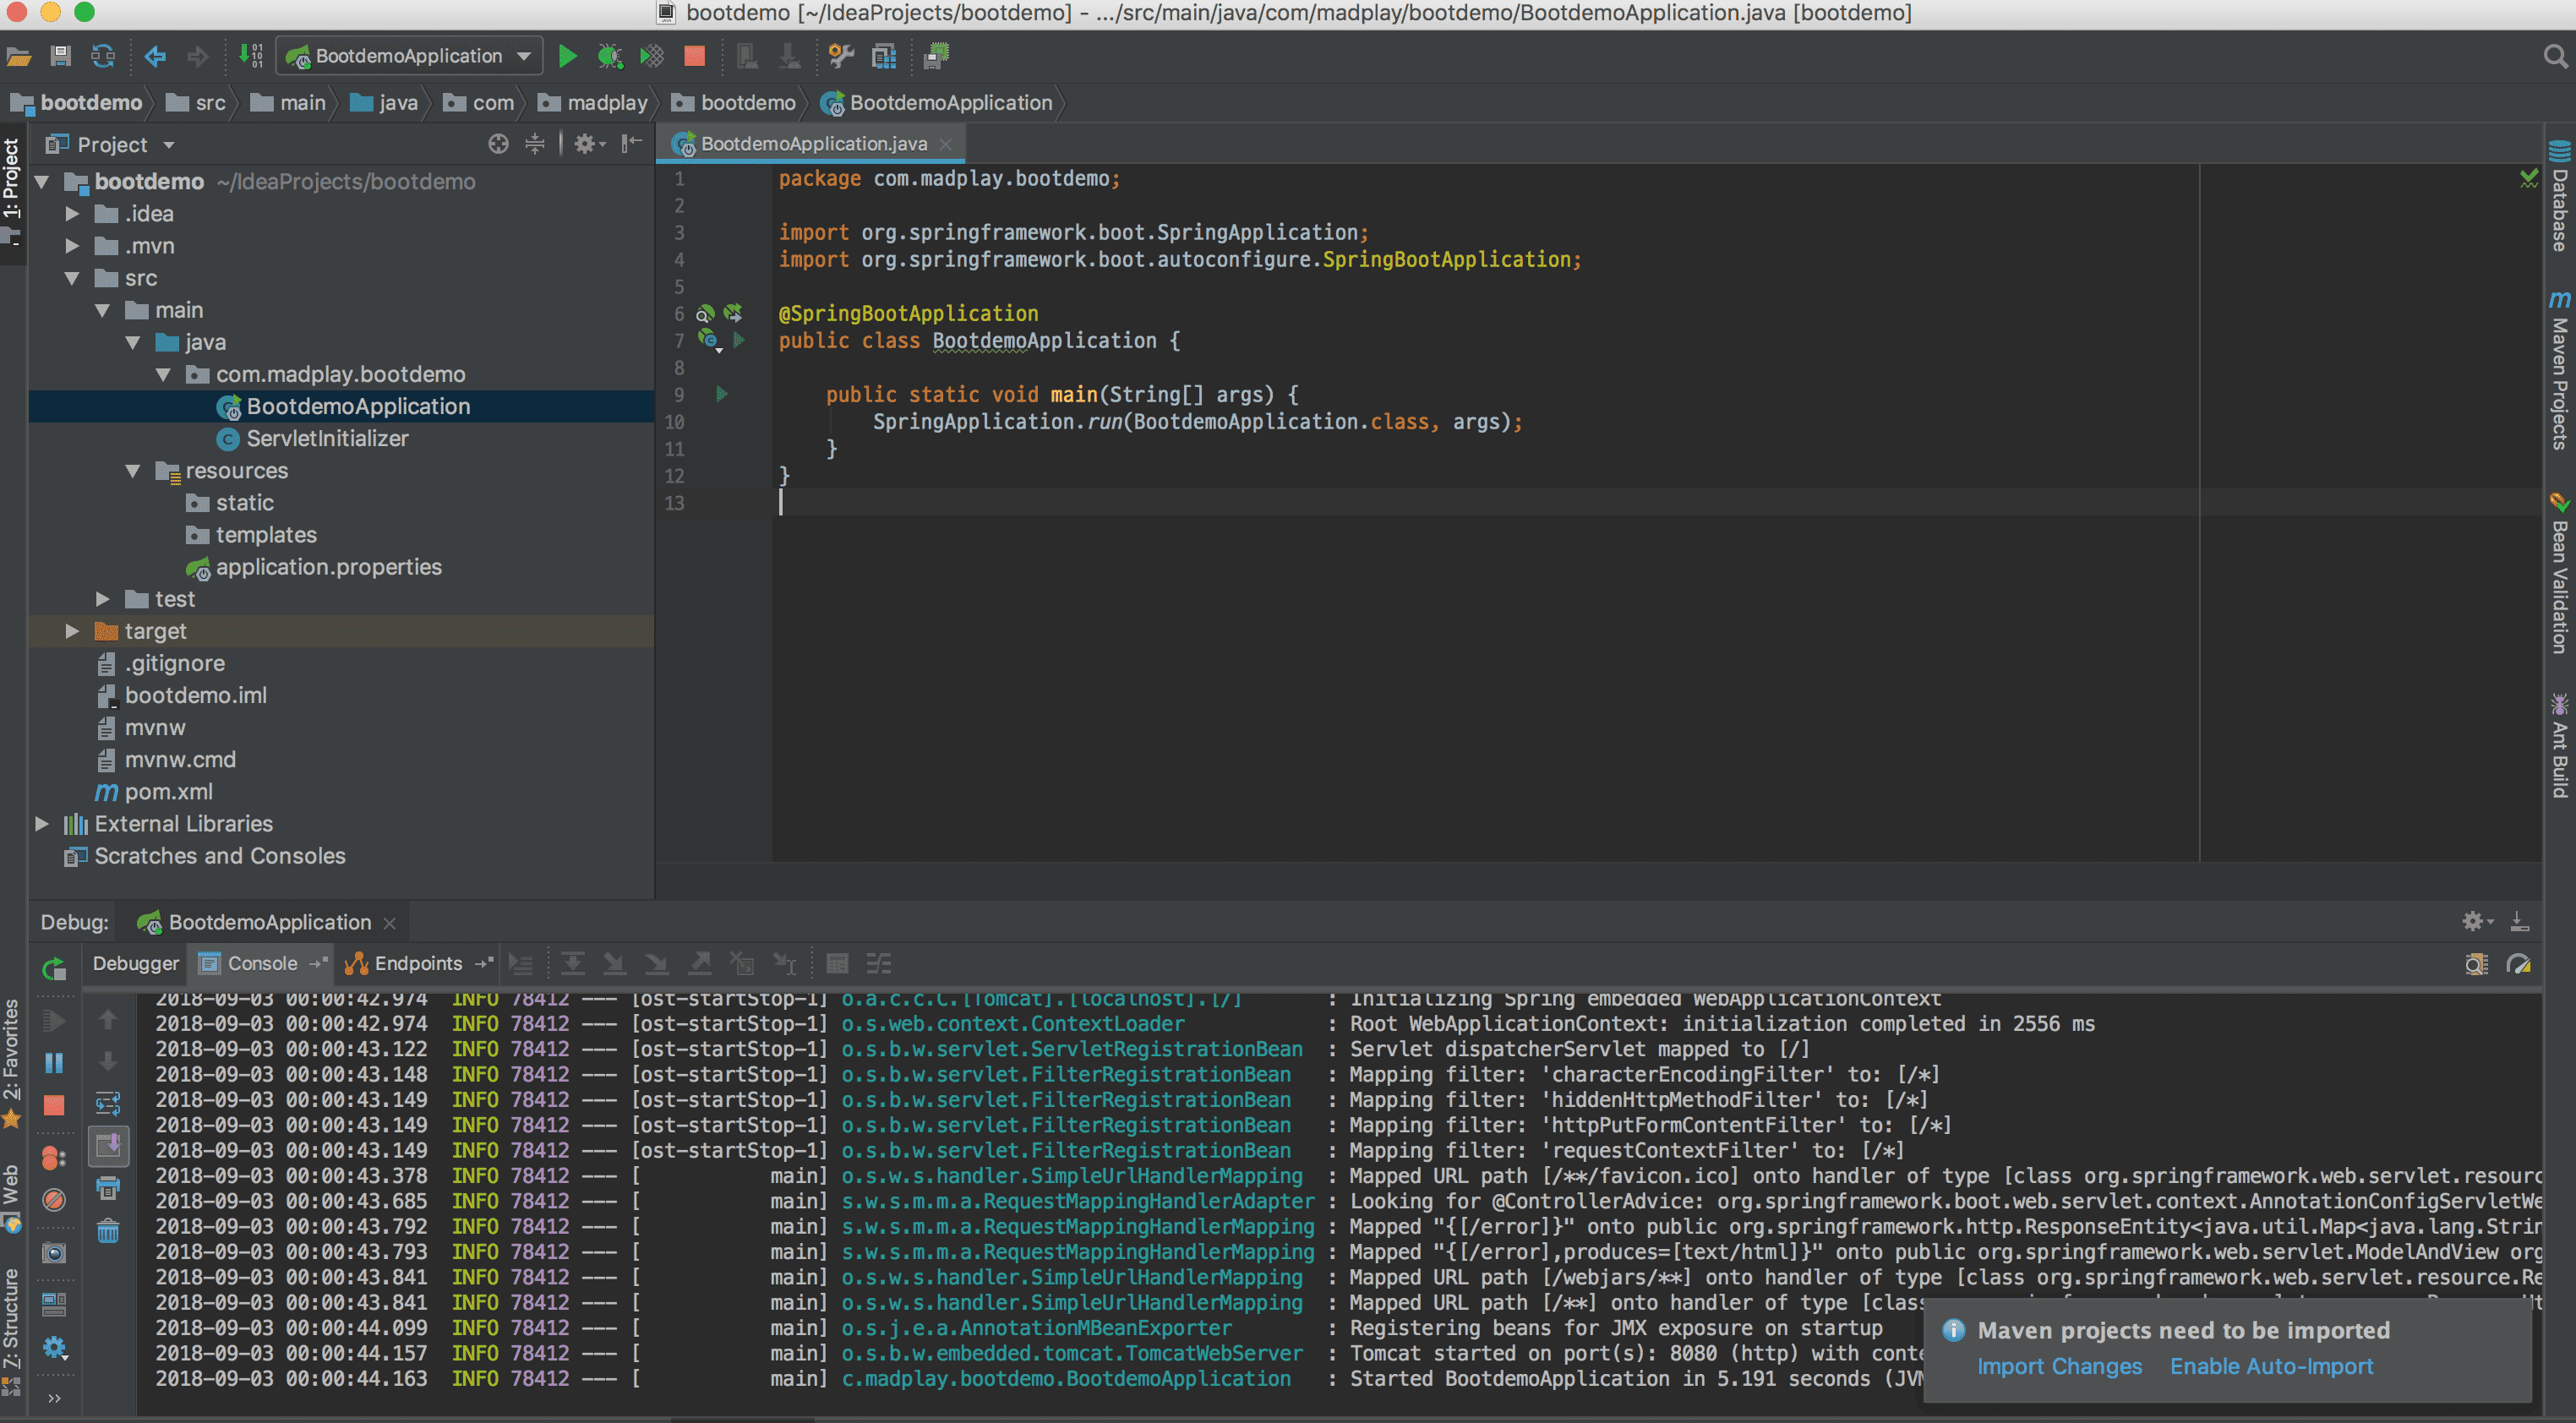
Among content printed in console logs, you can see parts like below.
... Tomcat started on port(s): 8080 (http) with context path ''
Tomcat ran on port 8080. Then we can access http://localhost:8080.
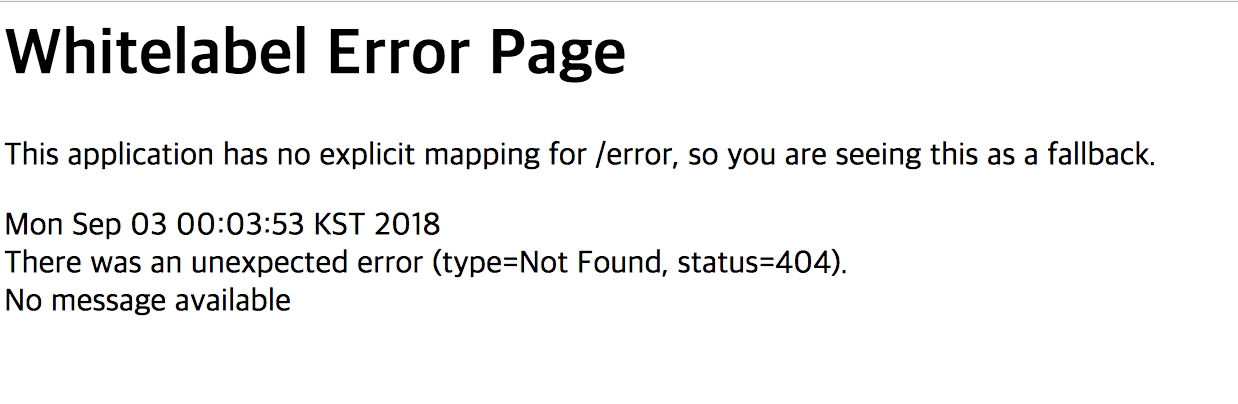
But you can meet an error page as soon as you access. Because we haven’t written anything.
Creating index.html so a screen can be seen when accessing the default URL.
The path should be src/main/resources/static. The static directory is used when managing static elements.
It’s set by default. Change the filename to another name and access the default URL to test once.
<!DOCTYPE html>
<html>
<head>
    <meta charset="UTF-8">
    <title>First SpringBoot Project</title>
</head>
<body>
    <h1>Hello World!</h1>
</body>
</html>
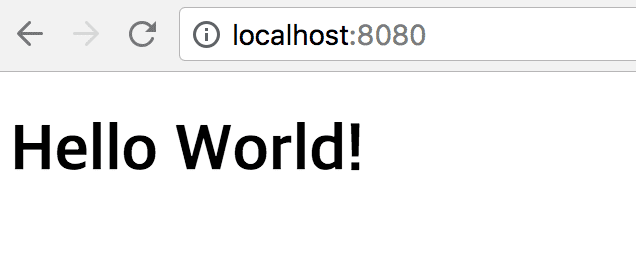
After creating the index.html file above and restarting the project! Hello World! is displayed normally.
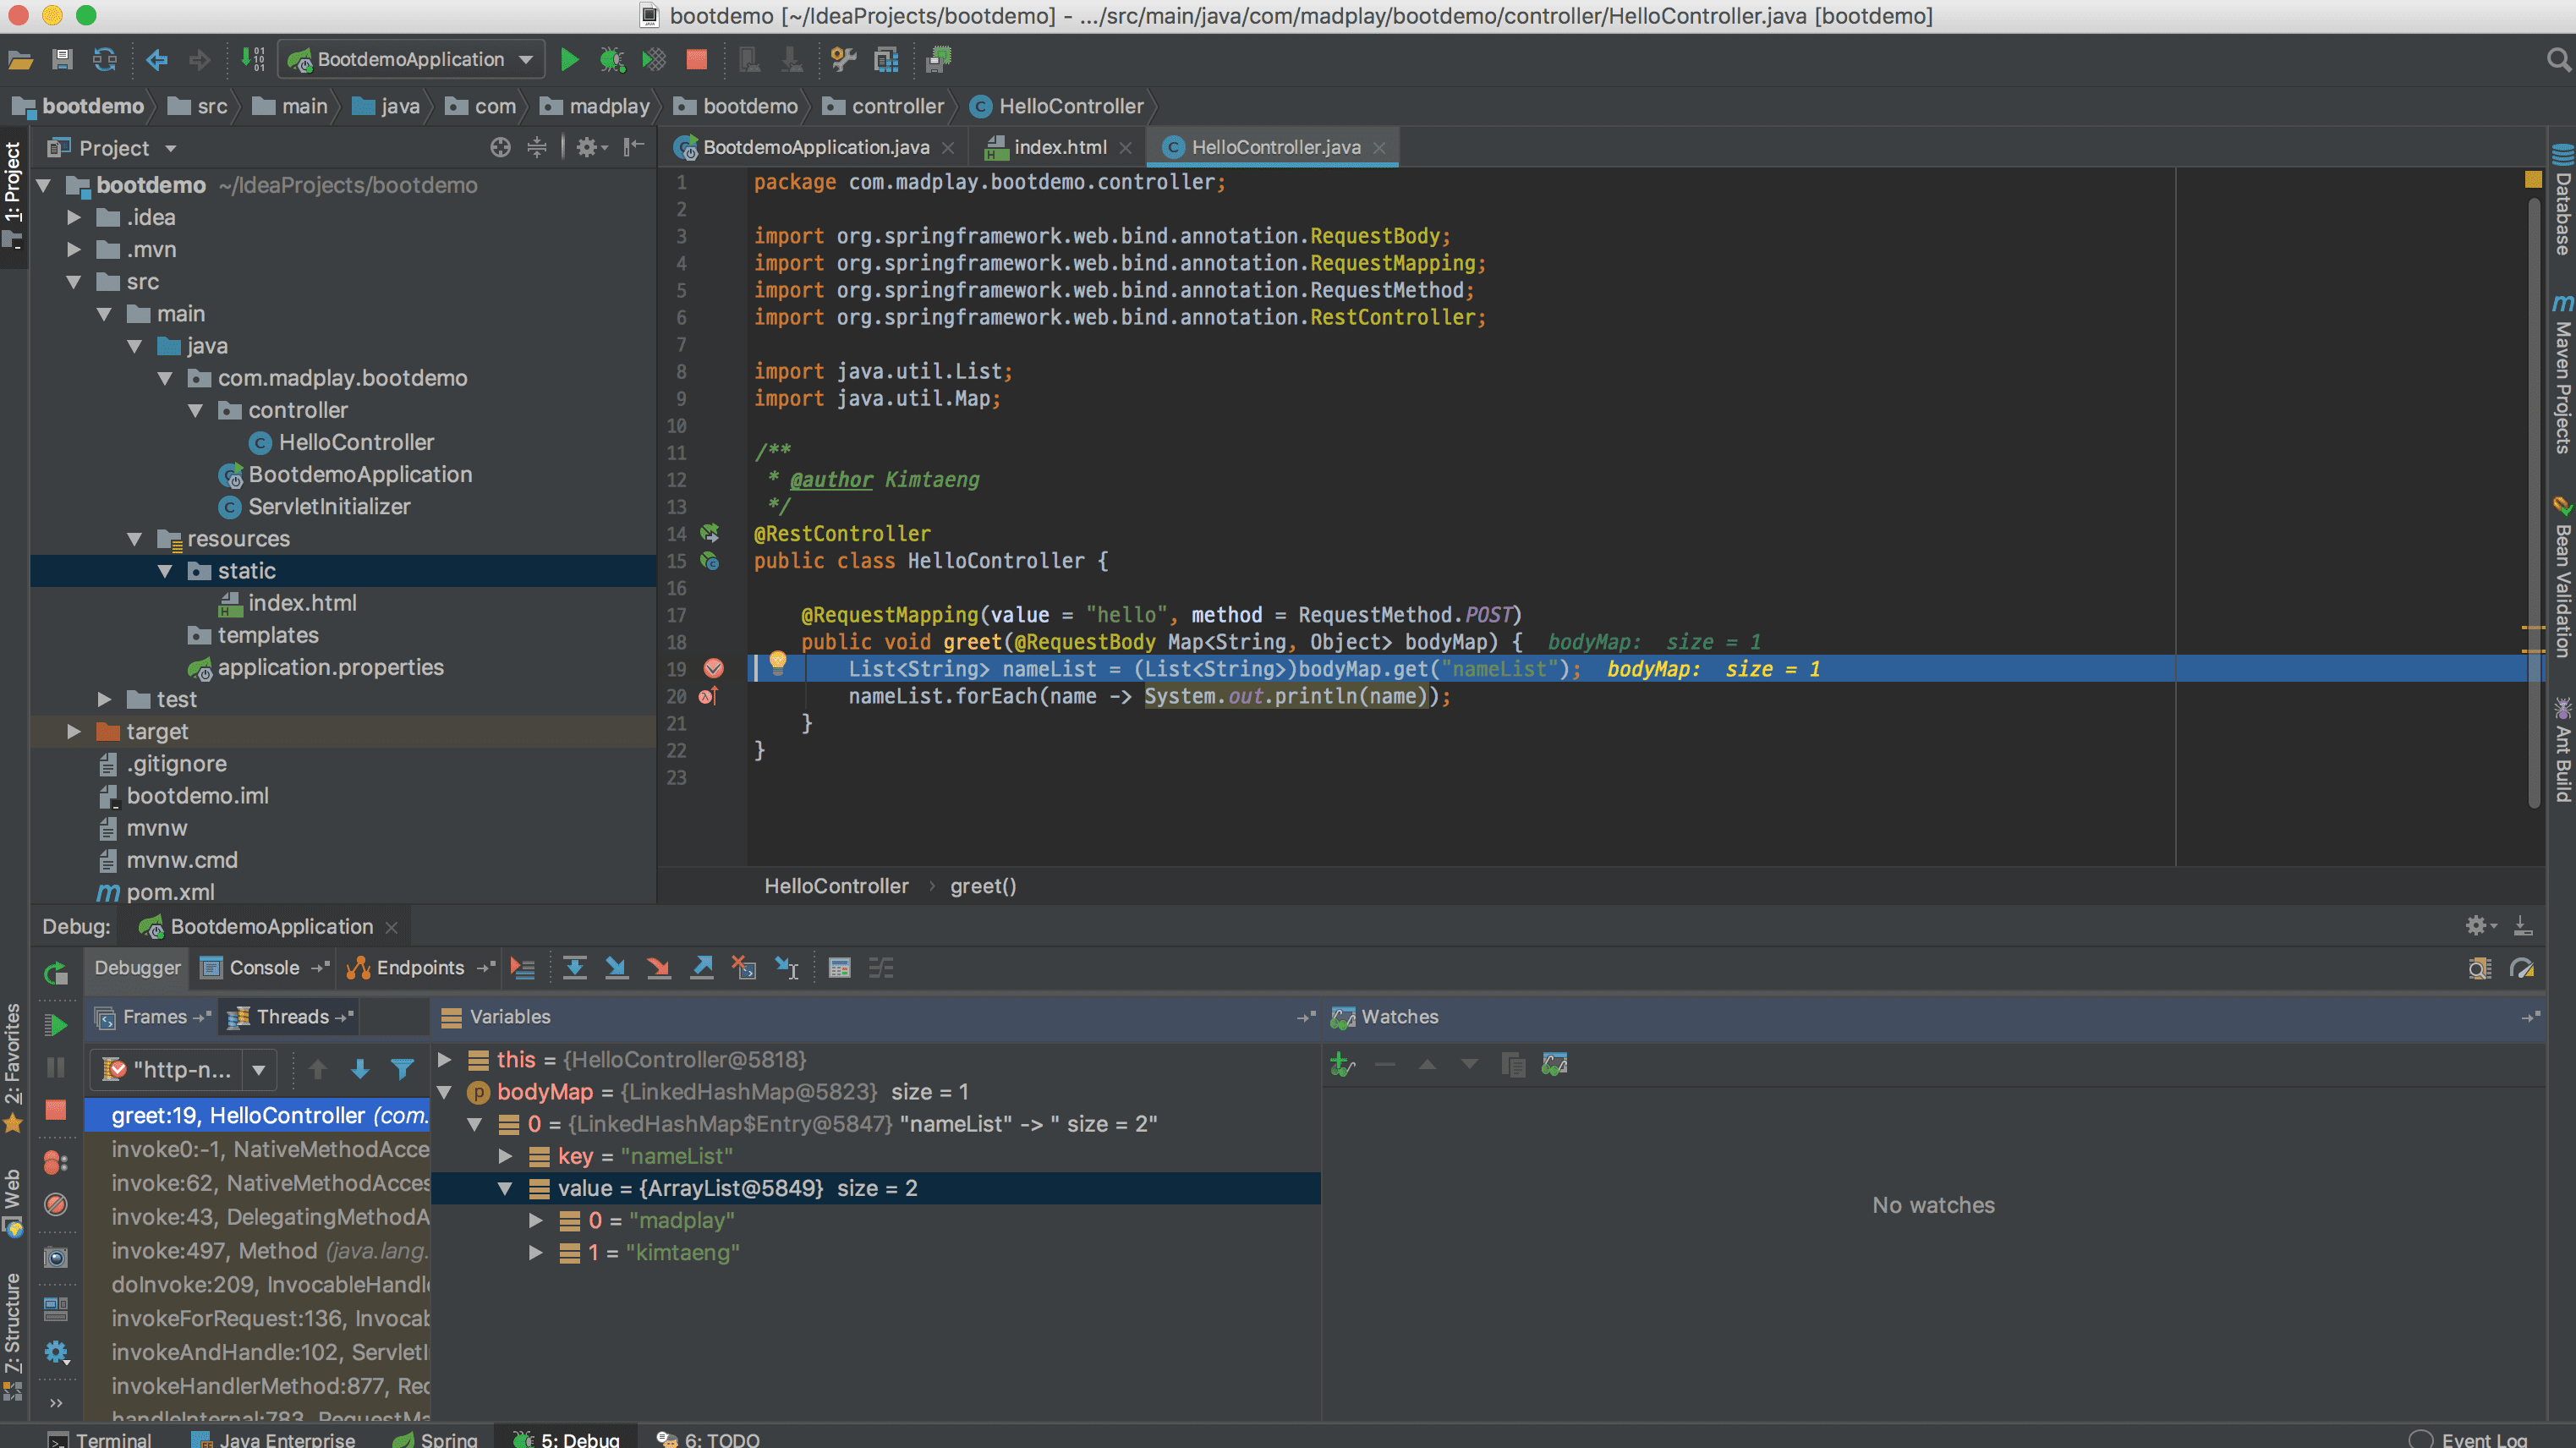
Going a bit further, adding a new Controller called HelloController so other URLs can also be mapped,
and making it receive Body configured in Json form as parameters and simply output.
package com.madplay.bootdemo.controller;

import org.springframework.web.bind.annotation.RequestBody;
import org.springframework.web.bind.annotation.RequestMapping;
import org.springframework.web.bind.annotation.RequestMethod;
import org.springframework.web.bind.annotation.RestController;

import java.util.List;
import java.util.Map;

/**
 * @author Kimtaeng
 */
@RestController
public class HelloController {

    @RequestMapping(value = "hello", method = RequestMethod.POST)
    public void greet(@RequestBody Map<String, Object> bodyMap) {
        List<String> nameList = (List<String>)bodyMap.get("nameList");
        nameList.forEach(name -> System.out.println(name));
    }
}
There’s no additional configuration, and I only added Controller-related annotations, and calls were made through PostMan.
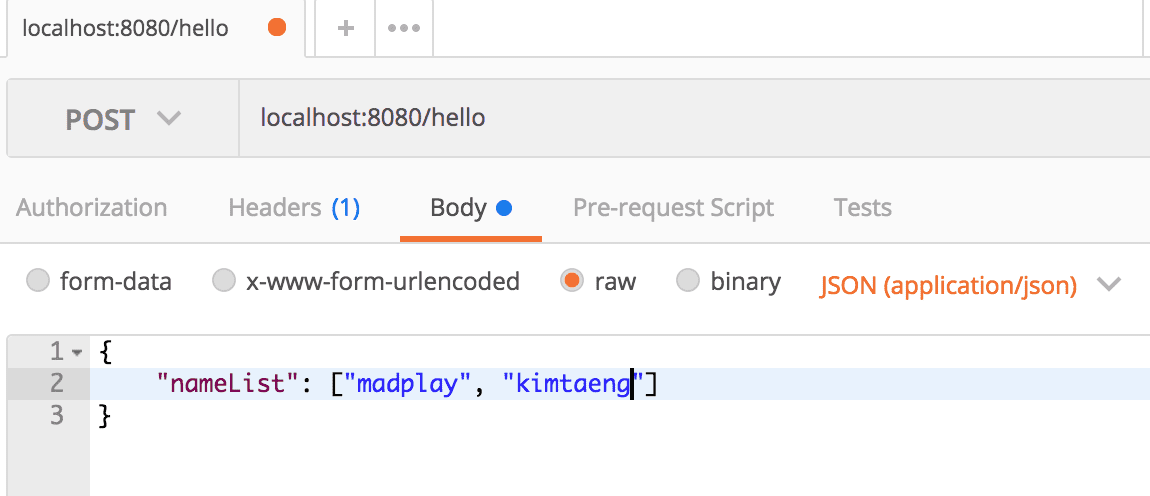
If you set breakpoints and examine line by line, you can see that strings entered in PostMan are output due to code on line 20.
If it says the port is already in use when running the SpringBoot project, add (or modify) the application.properties file as follows.
server.port=port number
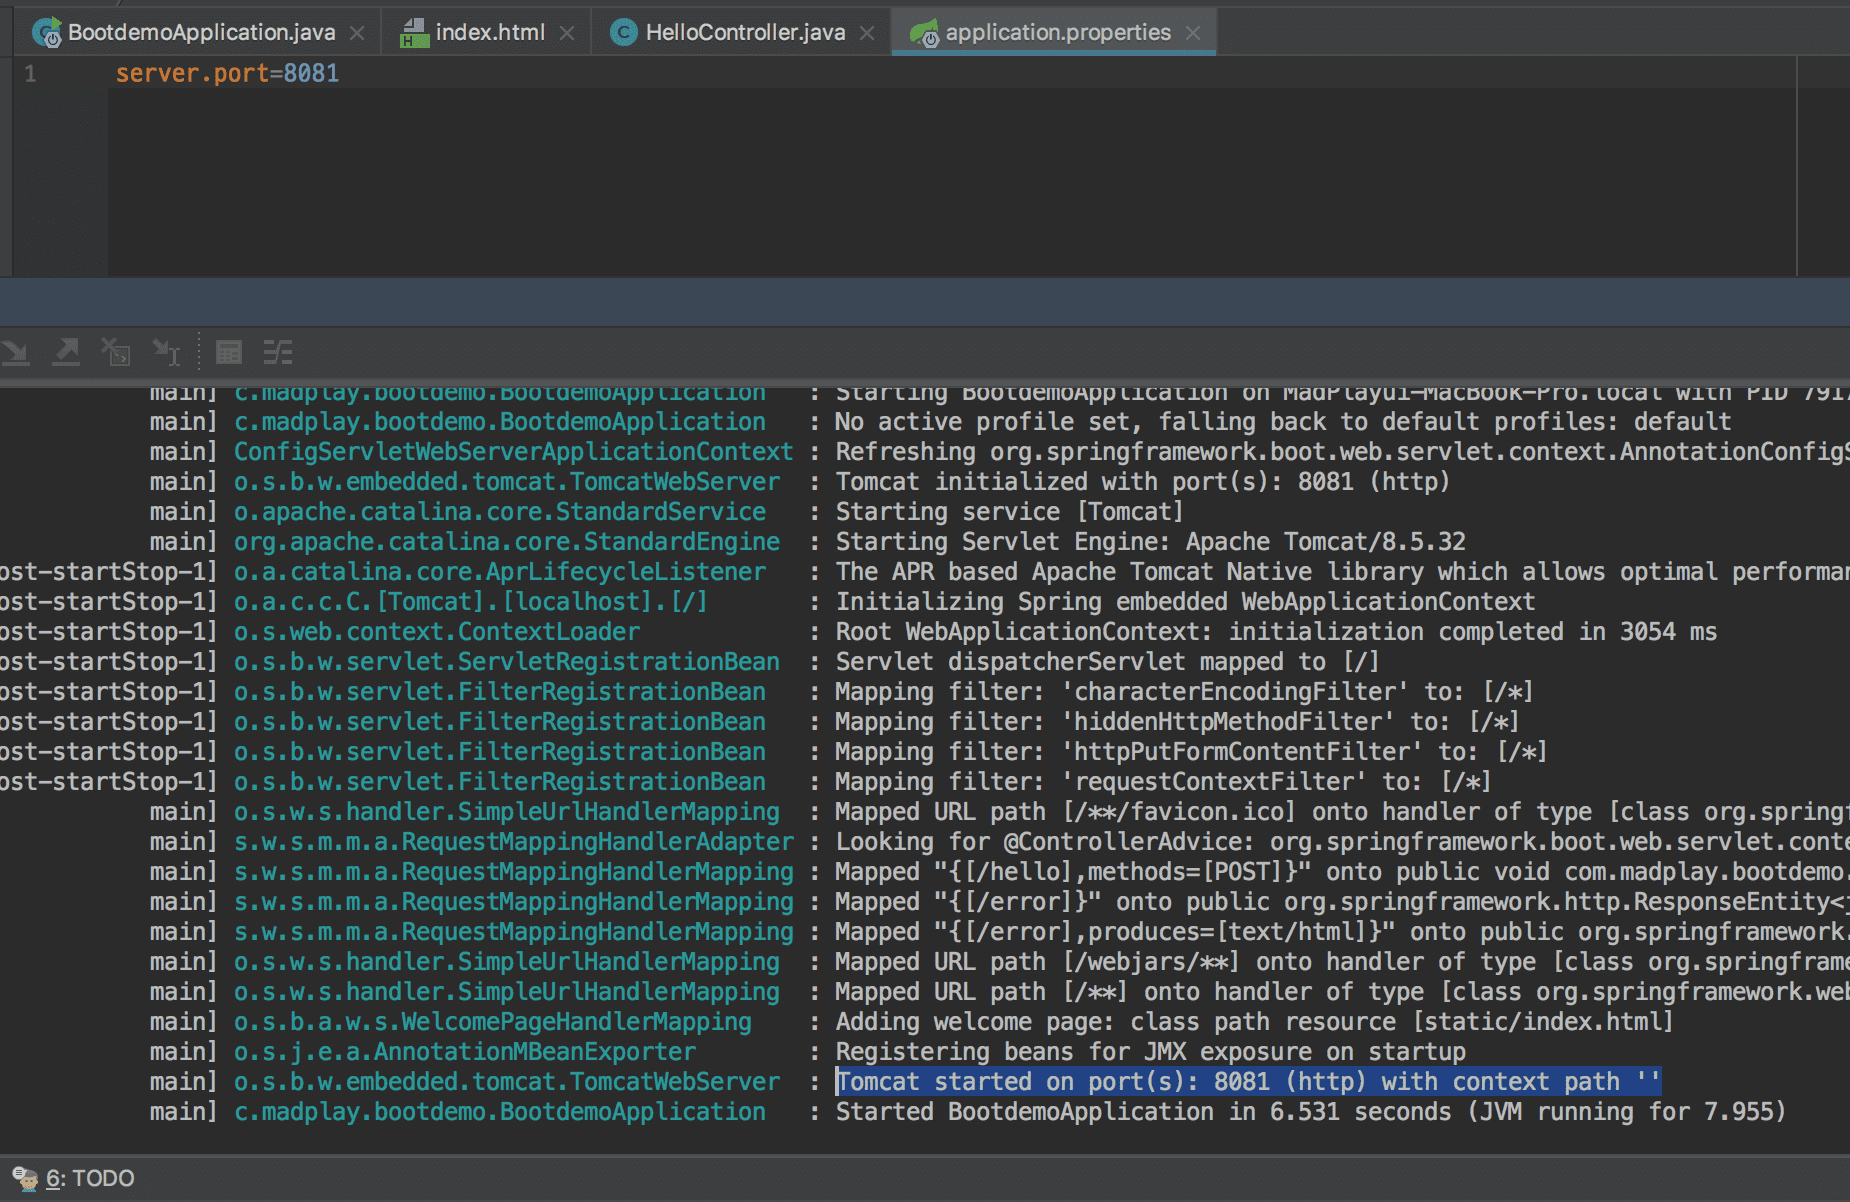
After file content is changed, when you run again, you can confirm that the port number changed in the execution process output.
After that, access with localhost:changed port number.
So far, proceeding with methods for creating SpringBoot projects using IntelliJ. Studying Spring content by adding code to the project created this time along with additional posts.