Table of Contents
- Building an IntelliJ Plugin: 1. Environment Setup
- Building an IntelliJ Plugin: 2. Define an Action
- Building an IntelliJ Plugin: 3. Build & Publish
Building an IntelliJ Plugin, Part 3
In the previous post, I covered how to define an Action, which customizes the platform UI. This time, I walk through how to publish the plugin to the JetBrains plugin repository.
Build and Prepare for Deployment
To use your plugin, you first need to build it.
- Click
Buildand selectBuild ProjectorBuild Module <module name>.
Next, prepare the plugin for deployment. This creates a jar or a .zip archive.
- Click
Buildand selectPrepare Plugin Module <module name> For Deployment.
This process creates a jar that IntelliJ can import, so the build also produces a deployable artifact. If you install the jar into IntelliJ, you can use the plugin immediately. Uploading to the public repository comes next.
If Prepare Plugin Module <module name> For Deployment does not appear under Build, check your project settings. That menu only appears when the project is configured as a plugin project. Go back to Part 1 and verify the environment setup.
After the process finishes, you will see a message in the bottom-right of IntelliJ IDEA.
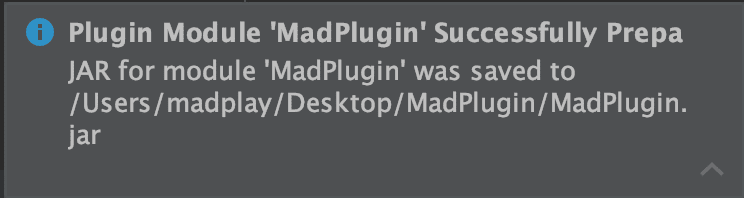
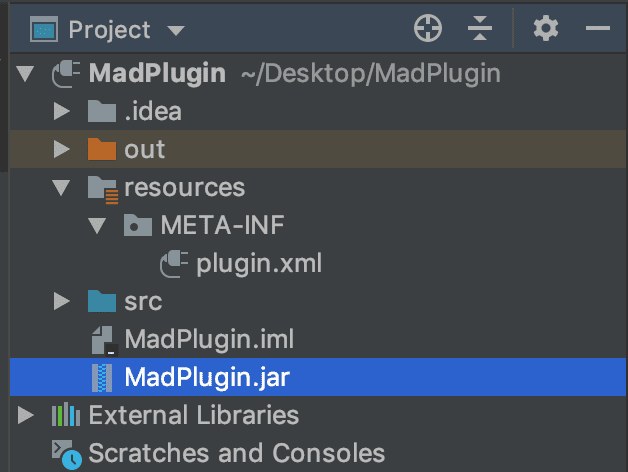
You can also confirm it in the project directory. The jar file is created inside the project folder.
Use the Plugin Locally
You can install the plugin locally using the generated jar.
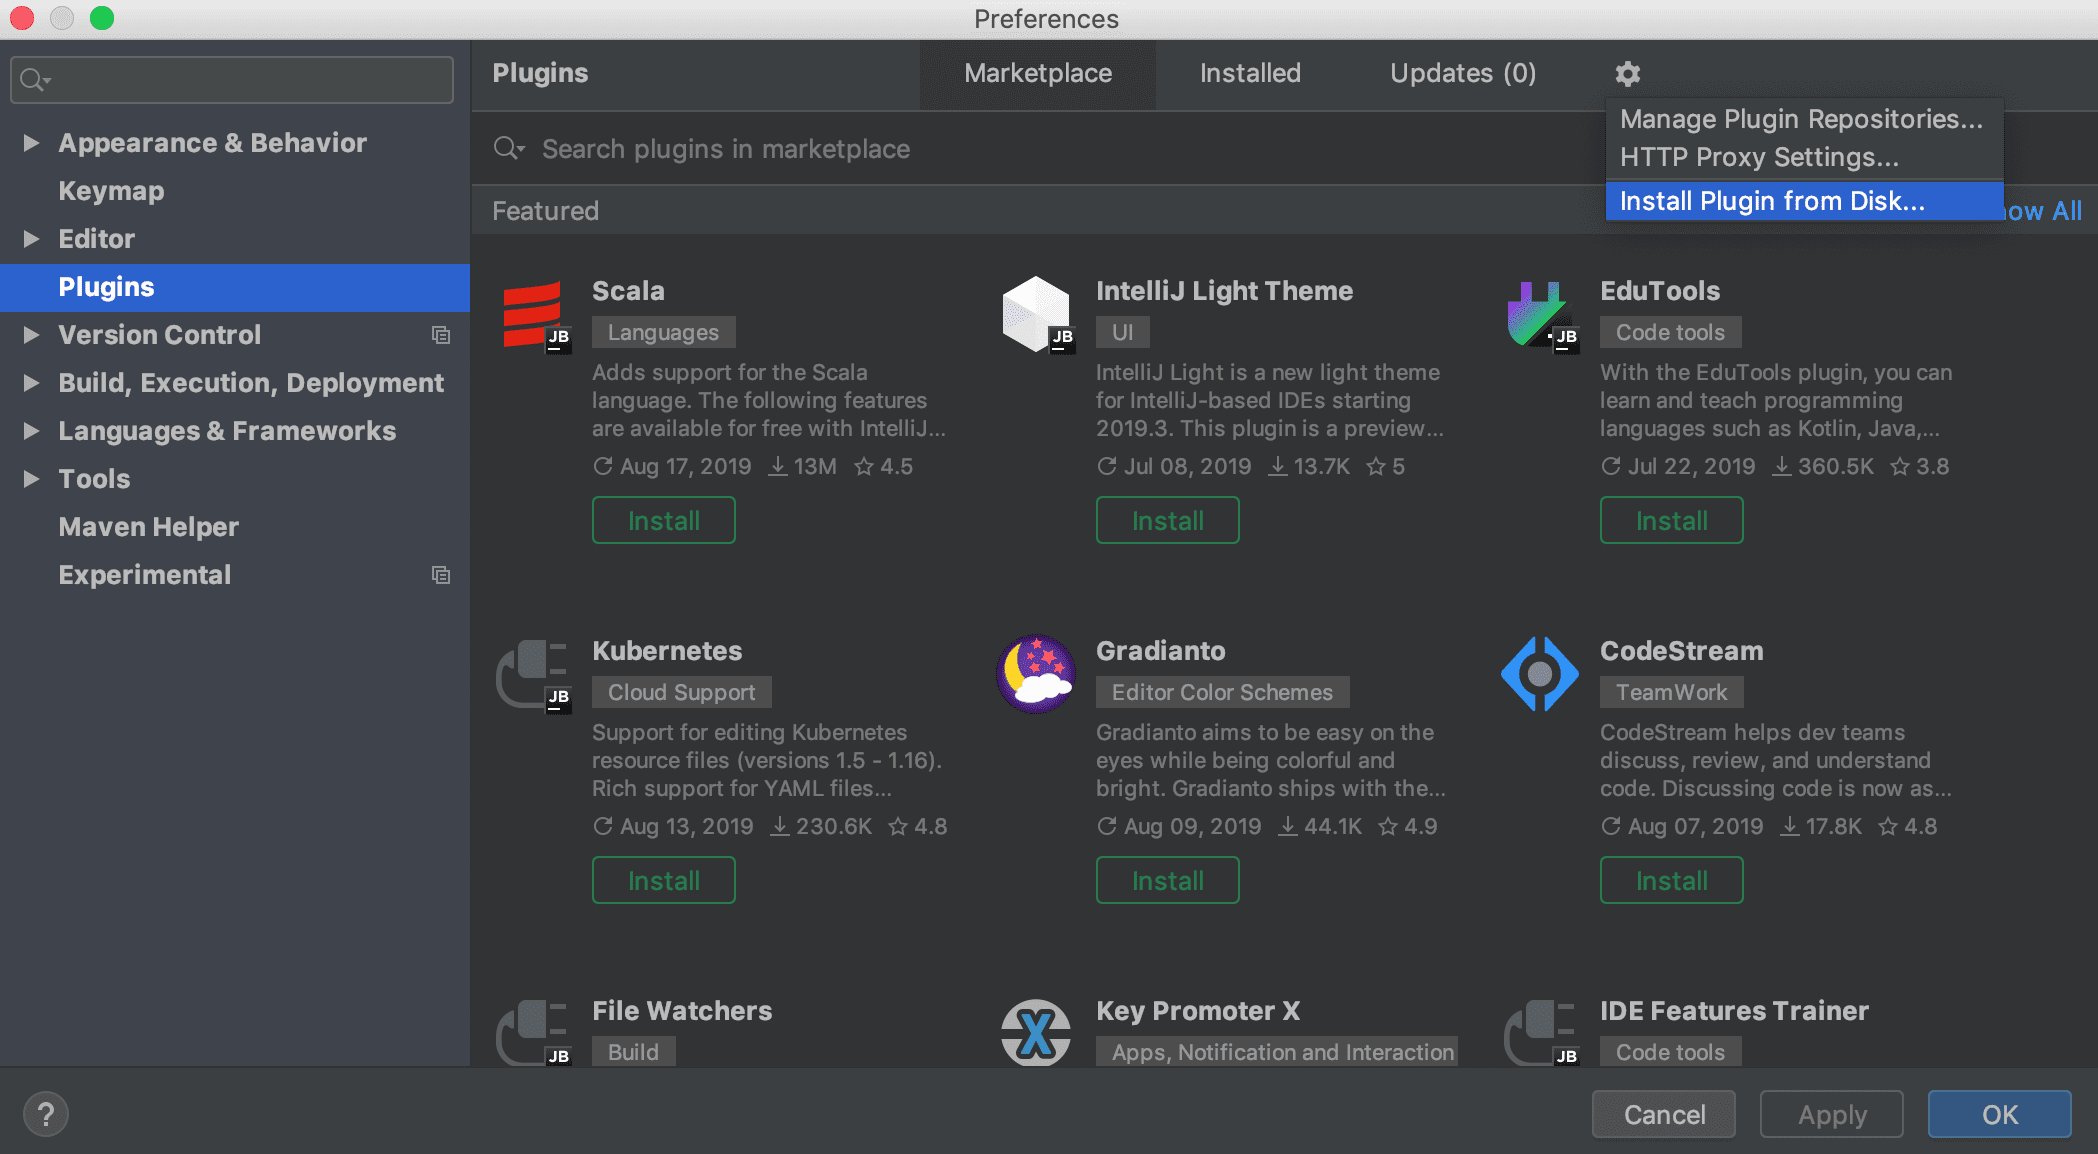
In IntelliJ IDEA, open Preferences, go to Plugins, and choose Install Plugin from Disk.... Select the jar you just created. Restart the IDE to apply it.
This step is not the same as uploading to JetBrains Marketplace. It only installs the plugin into your local IDE.
As noted above, you can skip this step if you plan to upload the plugin to JetBrains Marketplace. To let other users install it by searching in the Plugins tab, you need to upload it to the marketplace. The local installation only works for your IDE, and other users would need the jar file.
Upload to the Plugin Repository
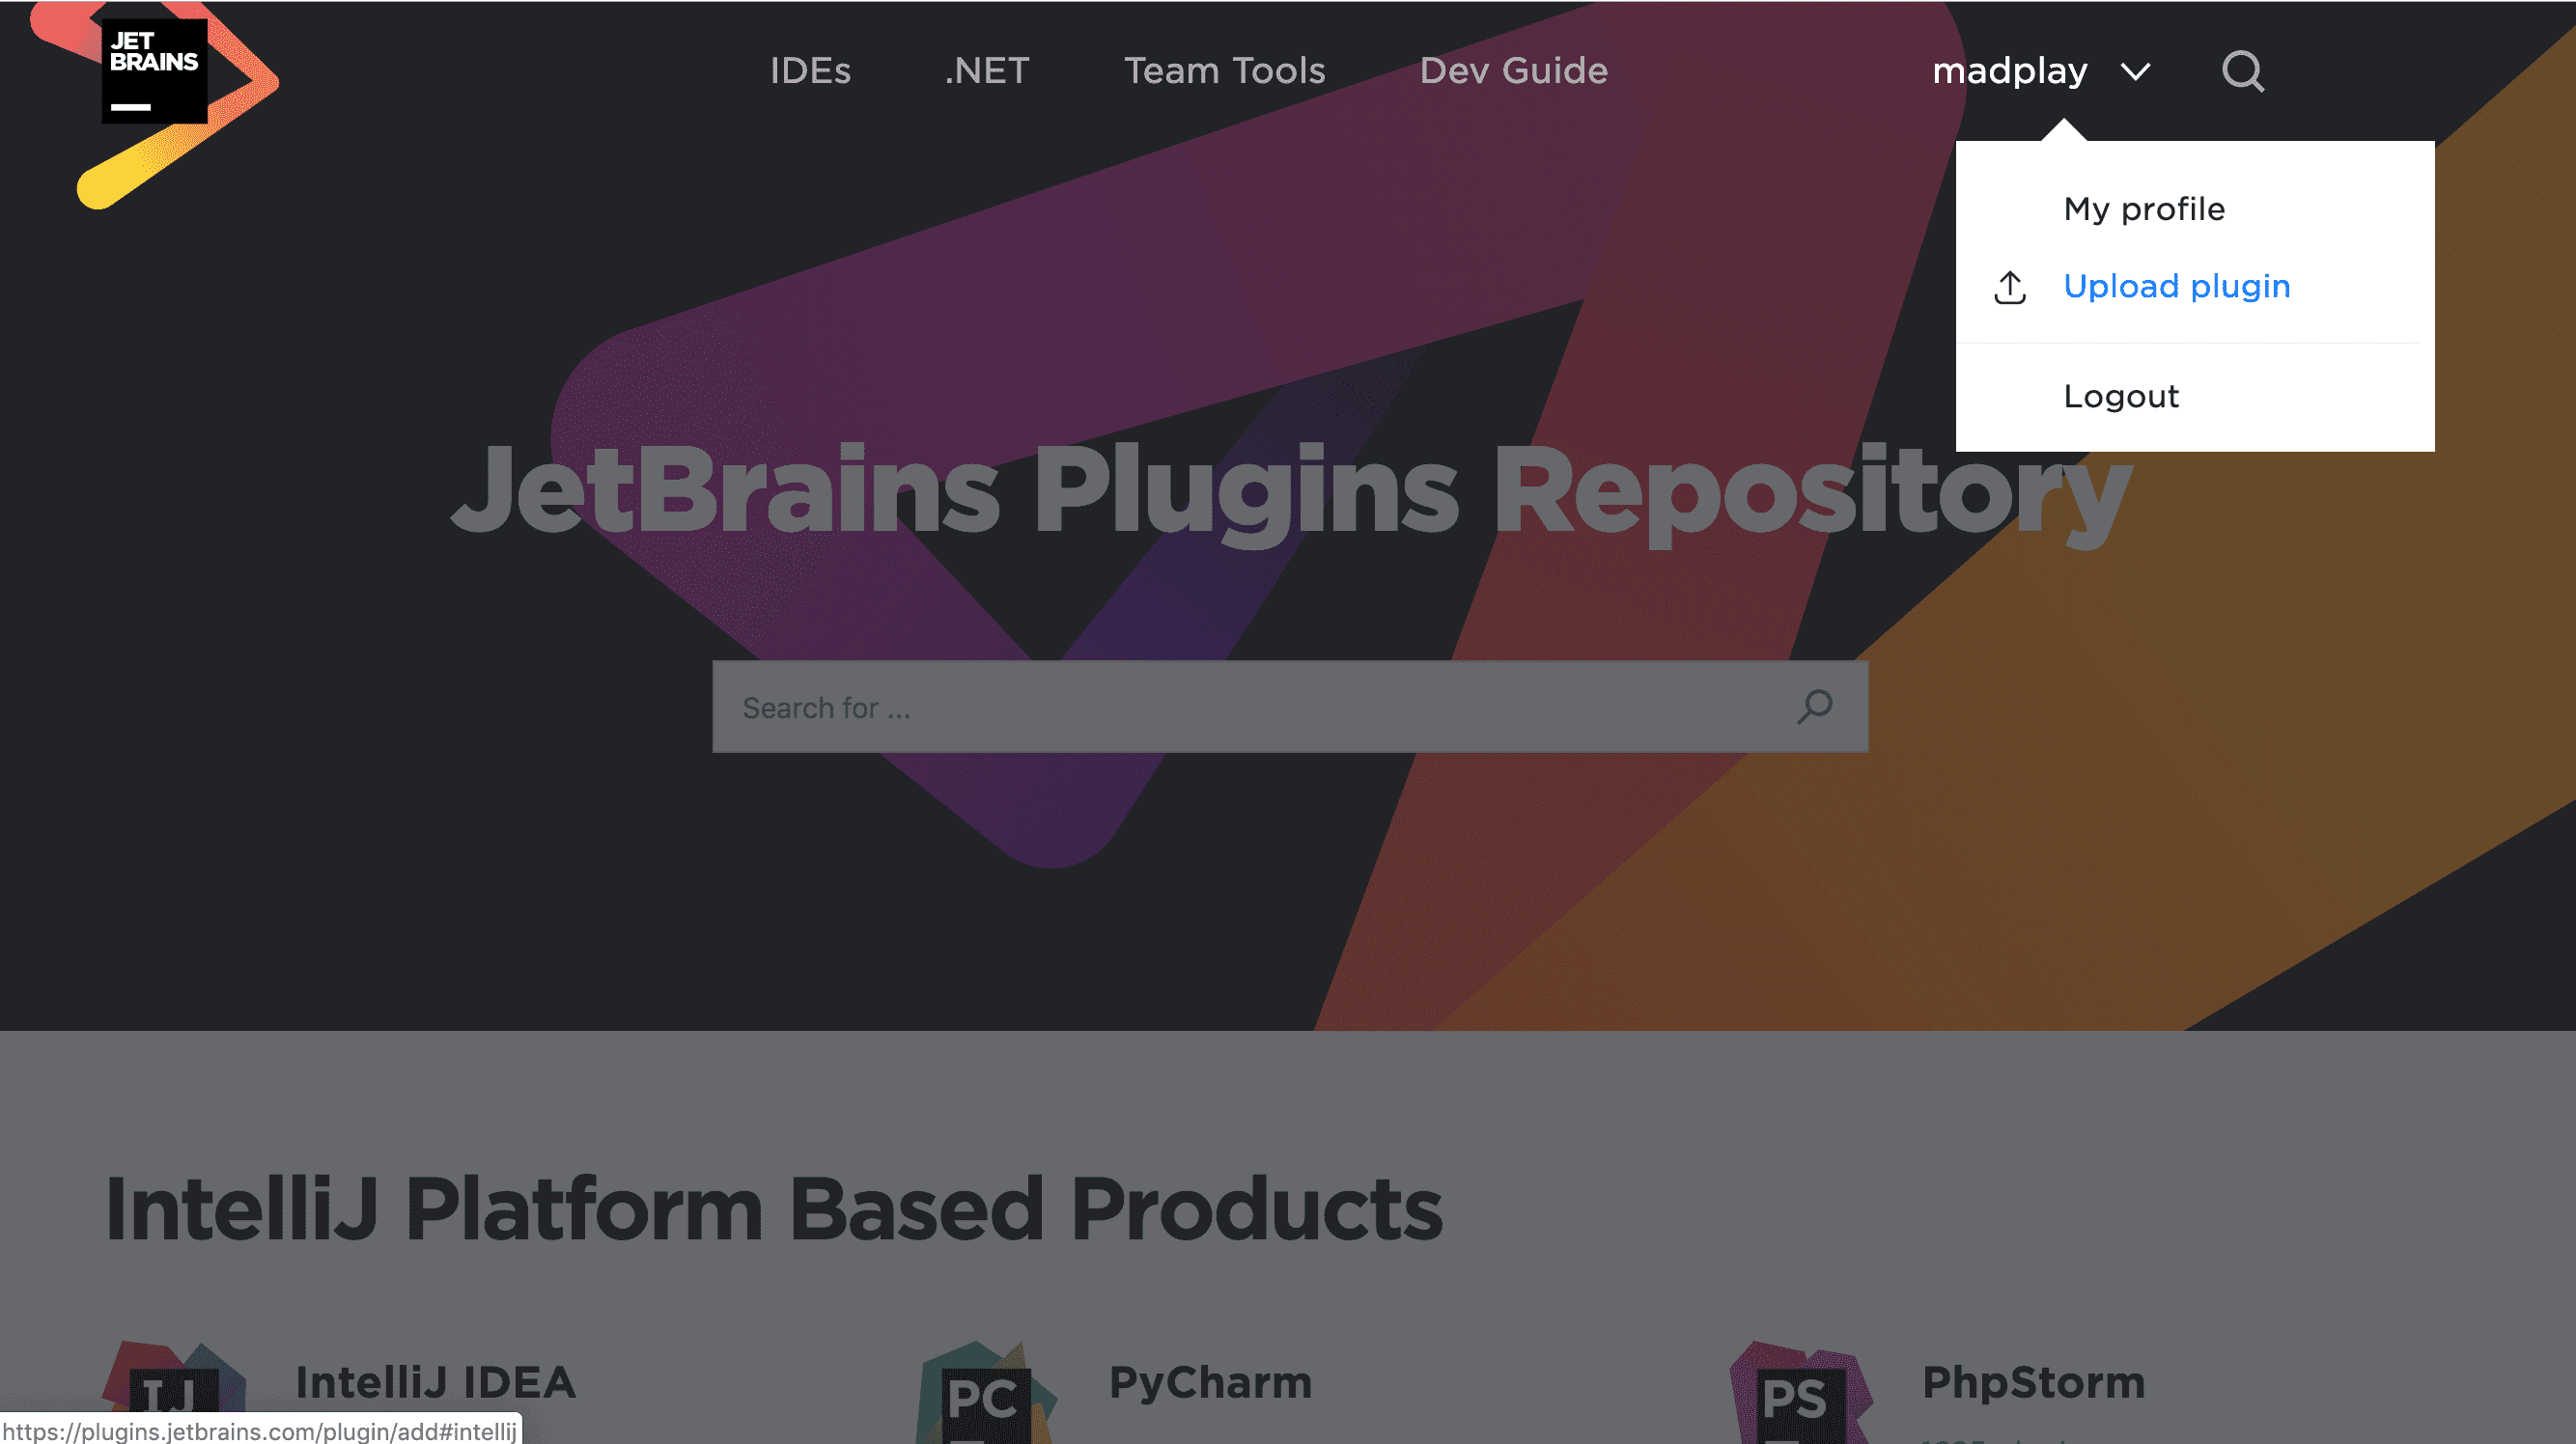
With the jar file from the build step, register the plugin on the JetBrains plugin repository (https://plugins.jetbrains.com). You need a JetBrains account. After logging in, click your account menu in the top-right and select Upload plugin.
On the next screen, upload the jar and choose the license, category, and channel. As the description states, the default channel is Stable, which is for general users.

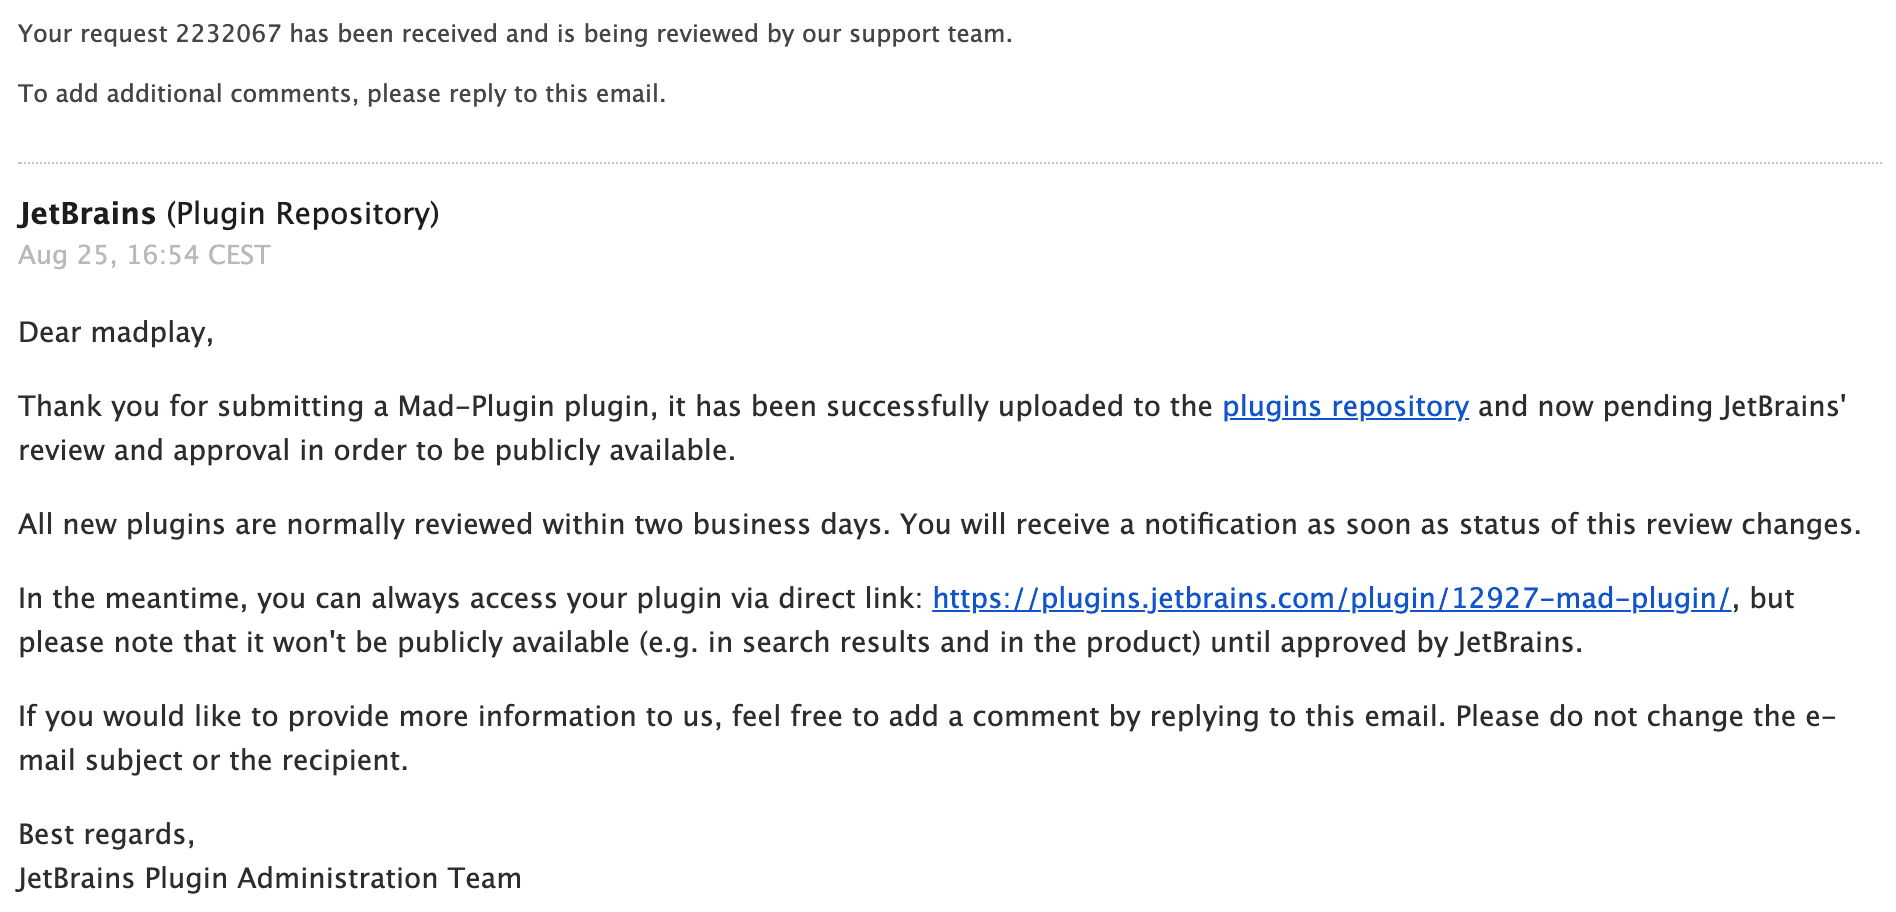
After registration, the plugin detail page becomes available. As shown above, the header indicates the plugin is under review for two business days.
The plugin has been submitted for moderation. The request will be processed within two business days.
JetBrains also sends review updates to the email address on your account.
You can also edit the plugin details on the detail page. Compared to the initial upload, you can set more fields like an issue tracker and source repository links.
Verify Plugin Compatibility
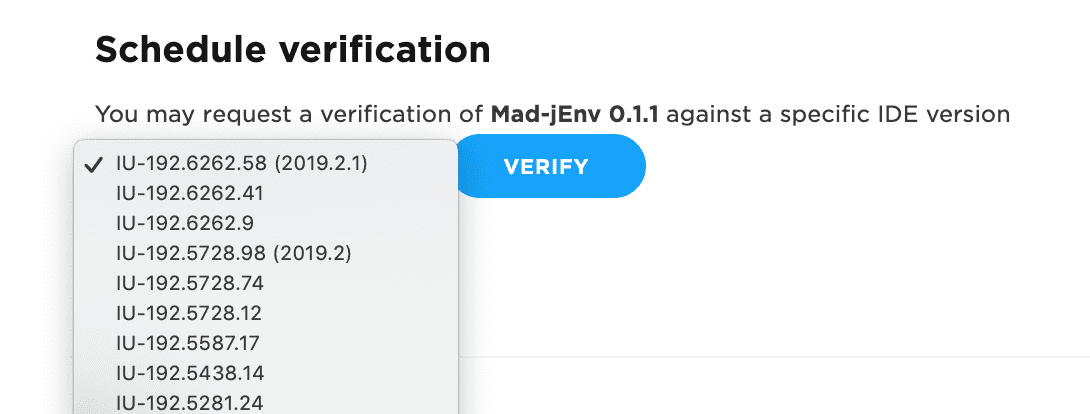
You can run compatibility verification for the build versions specified in plugin.xml. Select a version and click Verify.
The plugin I uploaded for this post was just for testing, so it does not pass verification. The image below shows the verification result for another plugin I am working on called Mad-jEnv.
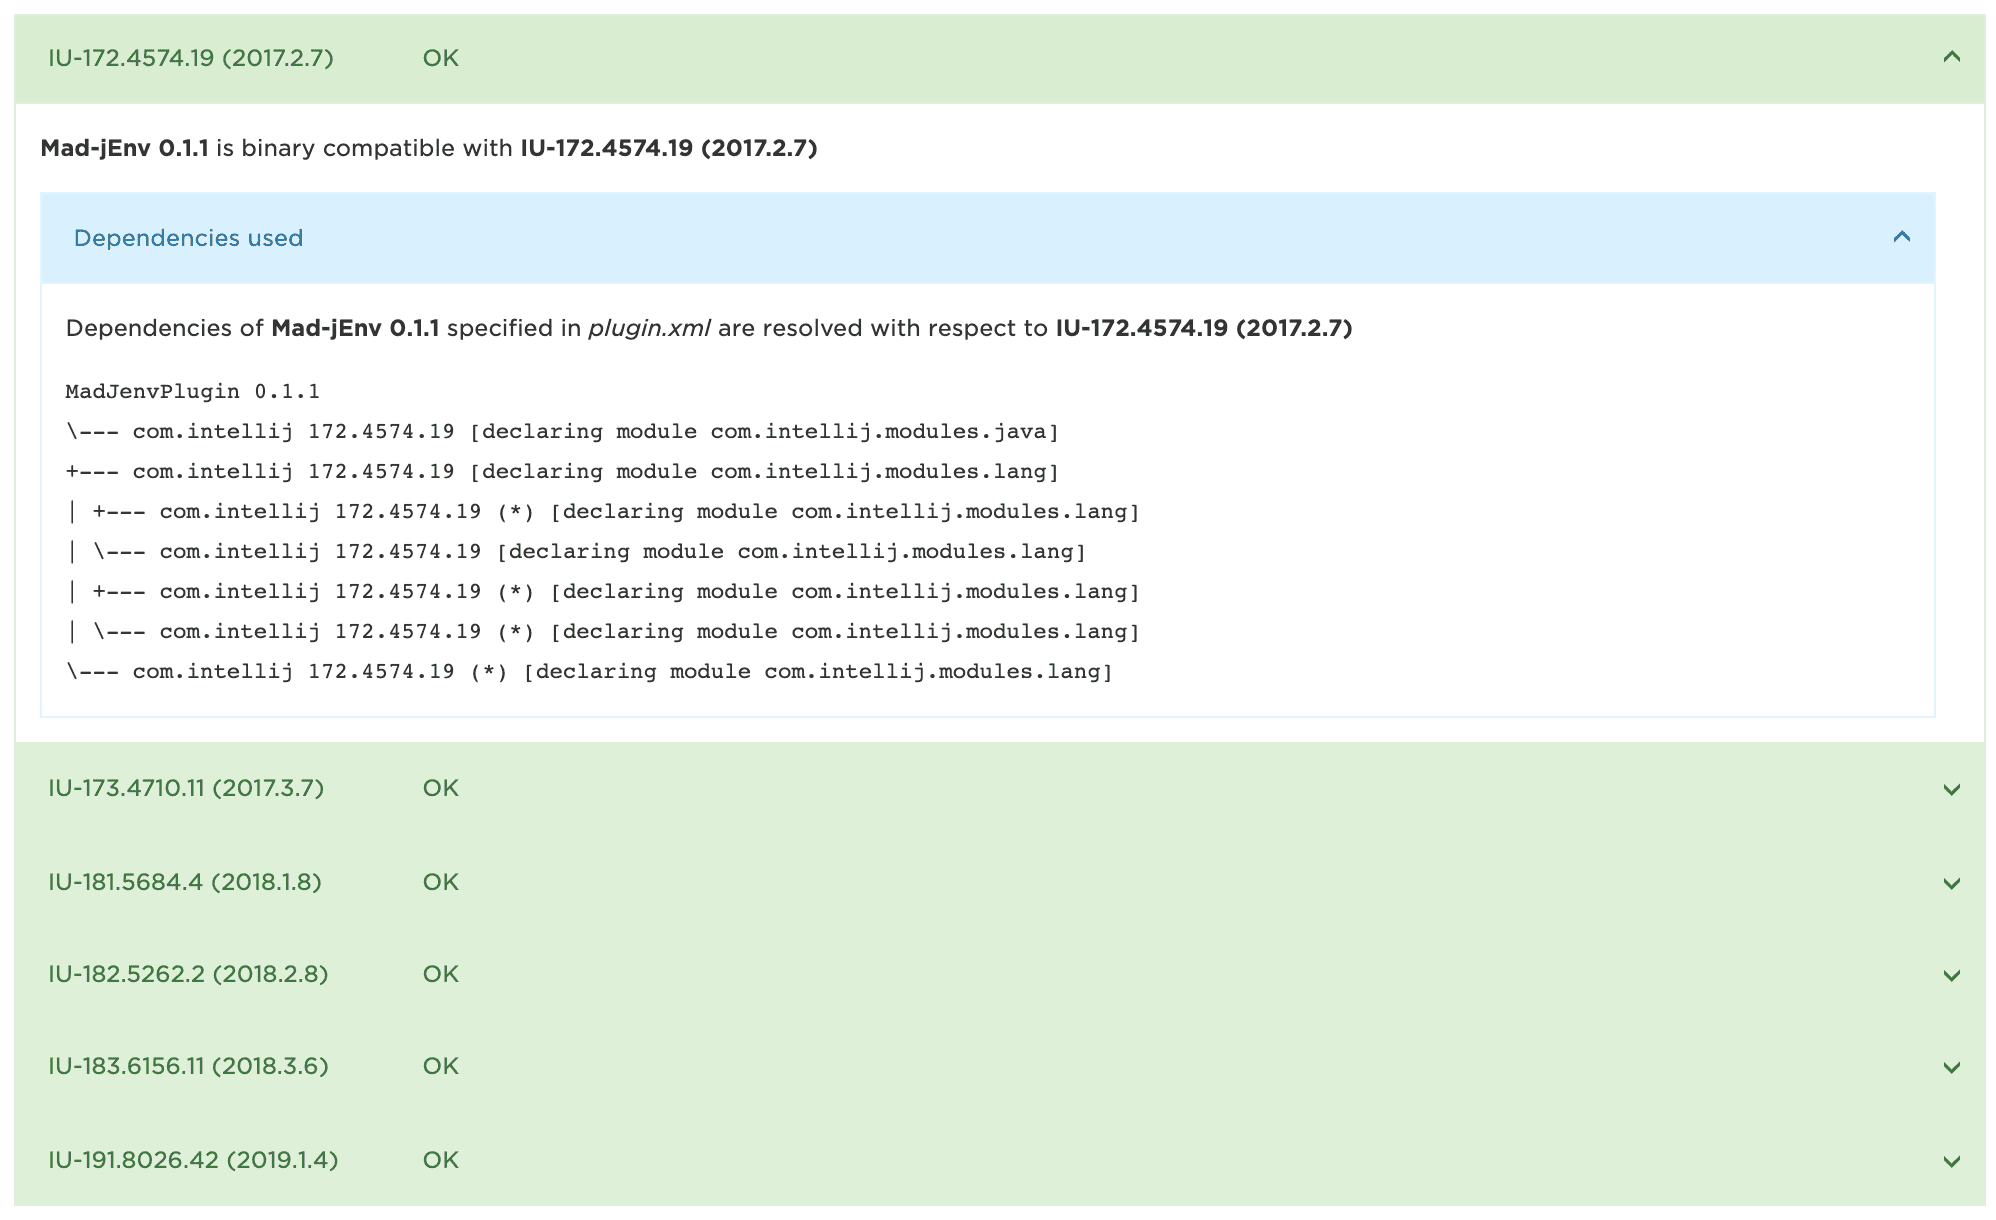
As the upload page mentions, the review result arrives by email about two business days later, excluding weekends and holidays. You can also check it on the plugin detail page. After approval, users can install it from the plugin manager in supported IDEs. This series targets IntelliJ IDEA and Android Studio, so the plugin only appears in those IDEs. The IDE version must also match the range declared in plugin.xml.
Closing
So far, I walked through building an IntelliJ plugin and publishing it to JetBrains Marketplace. As a side project, I am working on a plugin that enables jEnv in IntelliJ IDEA: Mad-jEnv. It is not easy. When I code late at night, the code starts to drift. Unique downloads are around 50!?